I bet you almost forgot this was happening, didn’t you?
I know that I sure did!
It suddenly occurred to me last week that the time to practice baking wedding cakes was getting shorter. In fact, I have approximately one month left for cake-baking, frosting-making, and decoration decisions until my brother’s wedding. Suddenly I found myself in a bit of a panic.
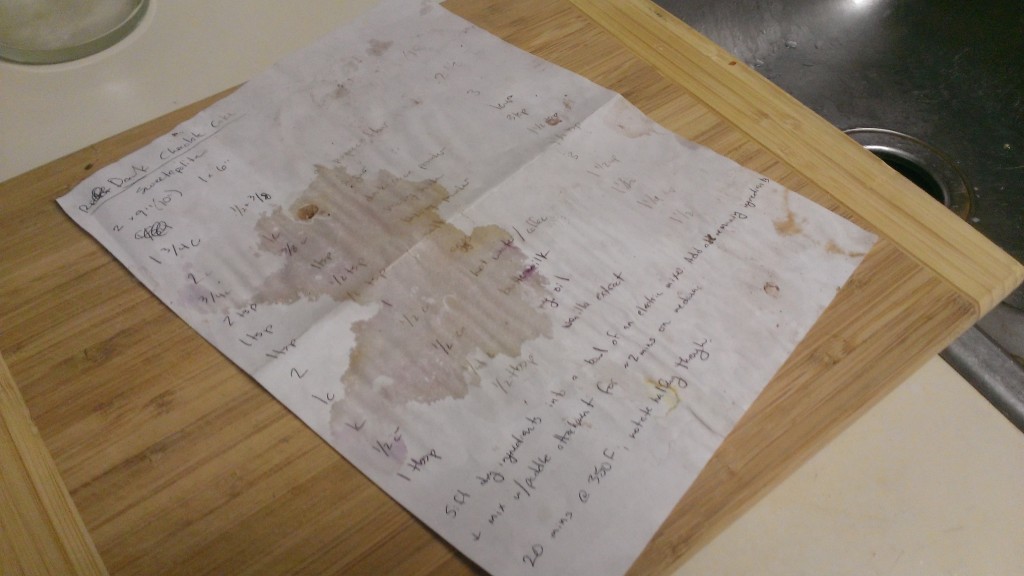
So to my kitchen I flew in search of the butter-stained sheet of paper containing the proper proportions for my 3-tier chocolate cake. Luckily it was right where I’d left it, crumpled up behind my backup cutting board and my cake cake lifter. Organization, people.
Though stained, I was luckily able to decipher the proportions correctly, and immediately started churning out batches of cake batter (no need to check if I had the ingredients…there are always ingredients for cake in my kitchen). I took out the pans and gave them a thorough cleaning (as they were all covered in dust) and tried my hand at some cake baking I haven’t seriously done since the last wedding cake I made.
The good news? I haven’t lost it!
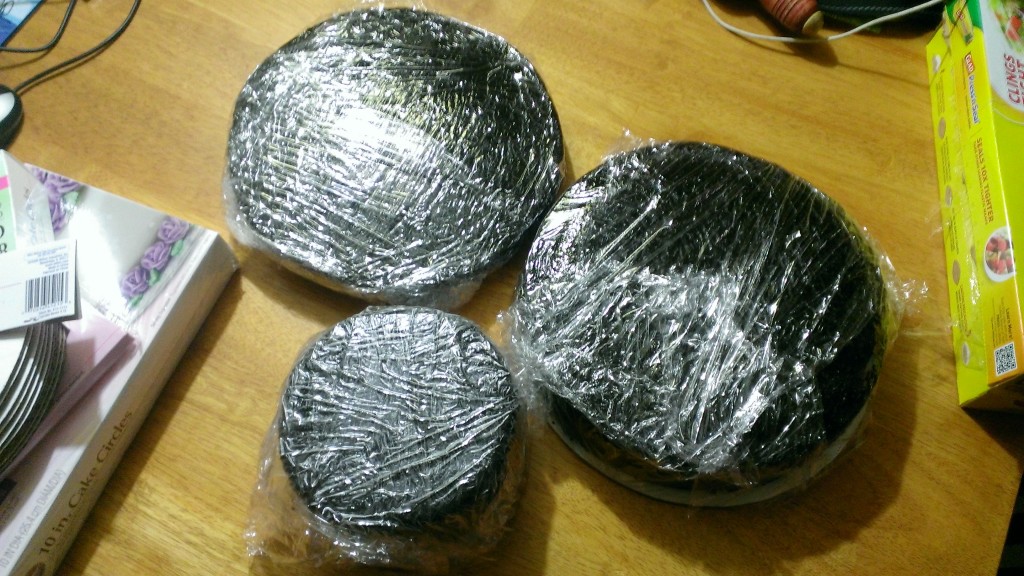
Since this cake is going to be substantially much more well-traveled than the last cake I made, I did a little research into proper storing of different types of cake: un-frosted, frosted, etc. I wrapped the two 10″ and one 6″ cake tightly in plastic wrap and put them all in the fridge over night to keep them fresh and for easier cutting the next day. Success!
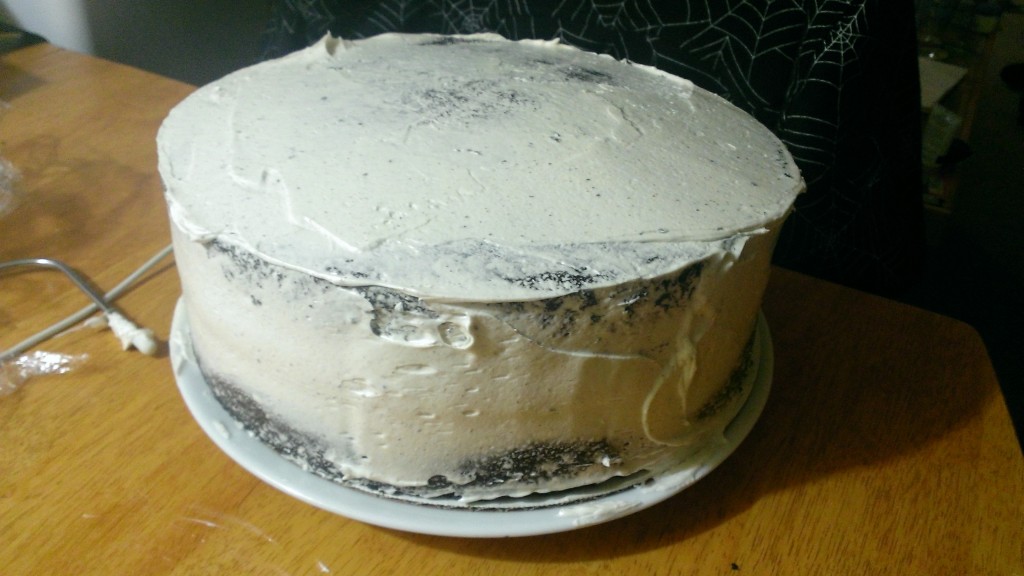
Over the week I baked 3 cakes, sliced them, and gave them their crumb coats. Crumb coating was another area in which I wanted to improve. I have a bad habit of not giving my cakes enough time to cool between the baking and cooling phases, so I invariably end up with little bits of cake in the frosting. While this can be charming, I wanted to avoid that this time around. With the extra time I left the cakes in the fridge in addition to a basic video tutorial I found on properly frosting cakes, I had much more success with my coats!
It’s still not perfect, but I’m definitely happy with the improvement.
And then, naturally, came the final coat of frosting! I tried not to rush, and to spin the plate around (as you would a rotating cake-stand) to achieve a smoother finished coat. This worked pretty well…though a rotating cake stand would be really nice. >.>
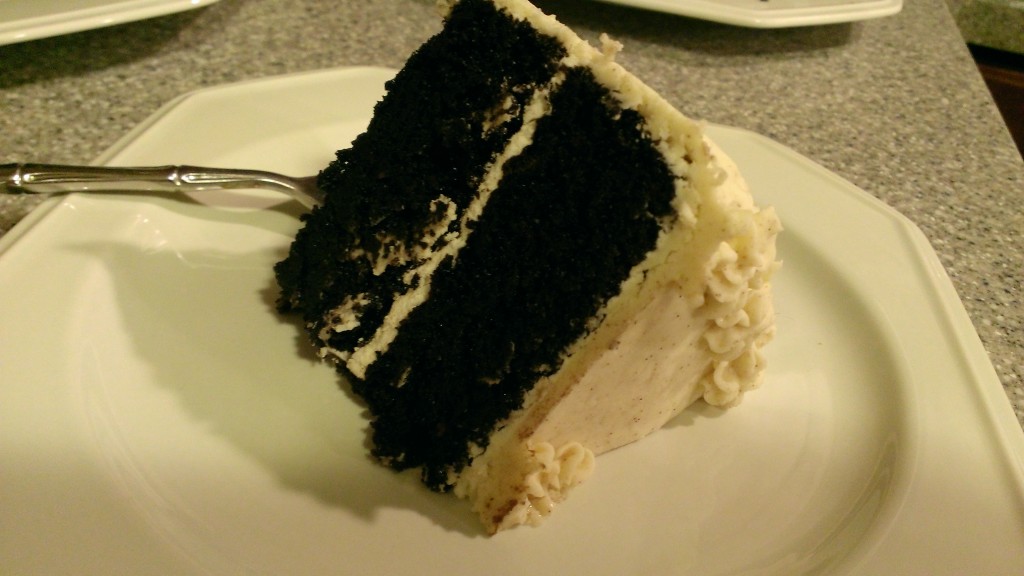
The end product? Well…really good. 🙂
Cell phone pictures really don’t do this cake justice, but I heard from multiple cake-filled mouths that this turned out splendidly. I thought it was pretty darn good, too (not to toot my own horn. But consider my own horn tooted).
I’m really excited to feel confident on this second round of wedding cake baking; I’m looking forward to tackling the slightly-more-daunting 14″ cakes next, but I’m feeling pretty good. I was a little concerned I’d have to stumble through these two practice cakes, but it’s a great knowing that I can do this again – and probably do it even better.
Stay tuned for more WeddSplosion updates!
Mary Gezo
Formerly of both n00bcakes and !Blog, the two magically become one on Spatialdrift; expect some lazy baking and serious nerditude. Also, I love semicolons.


