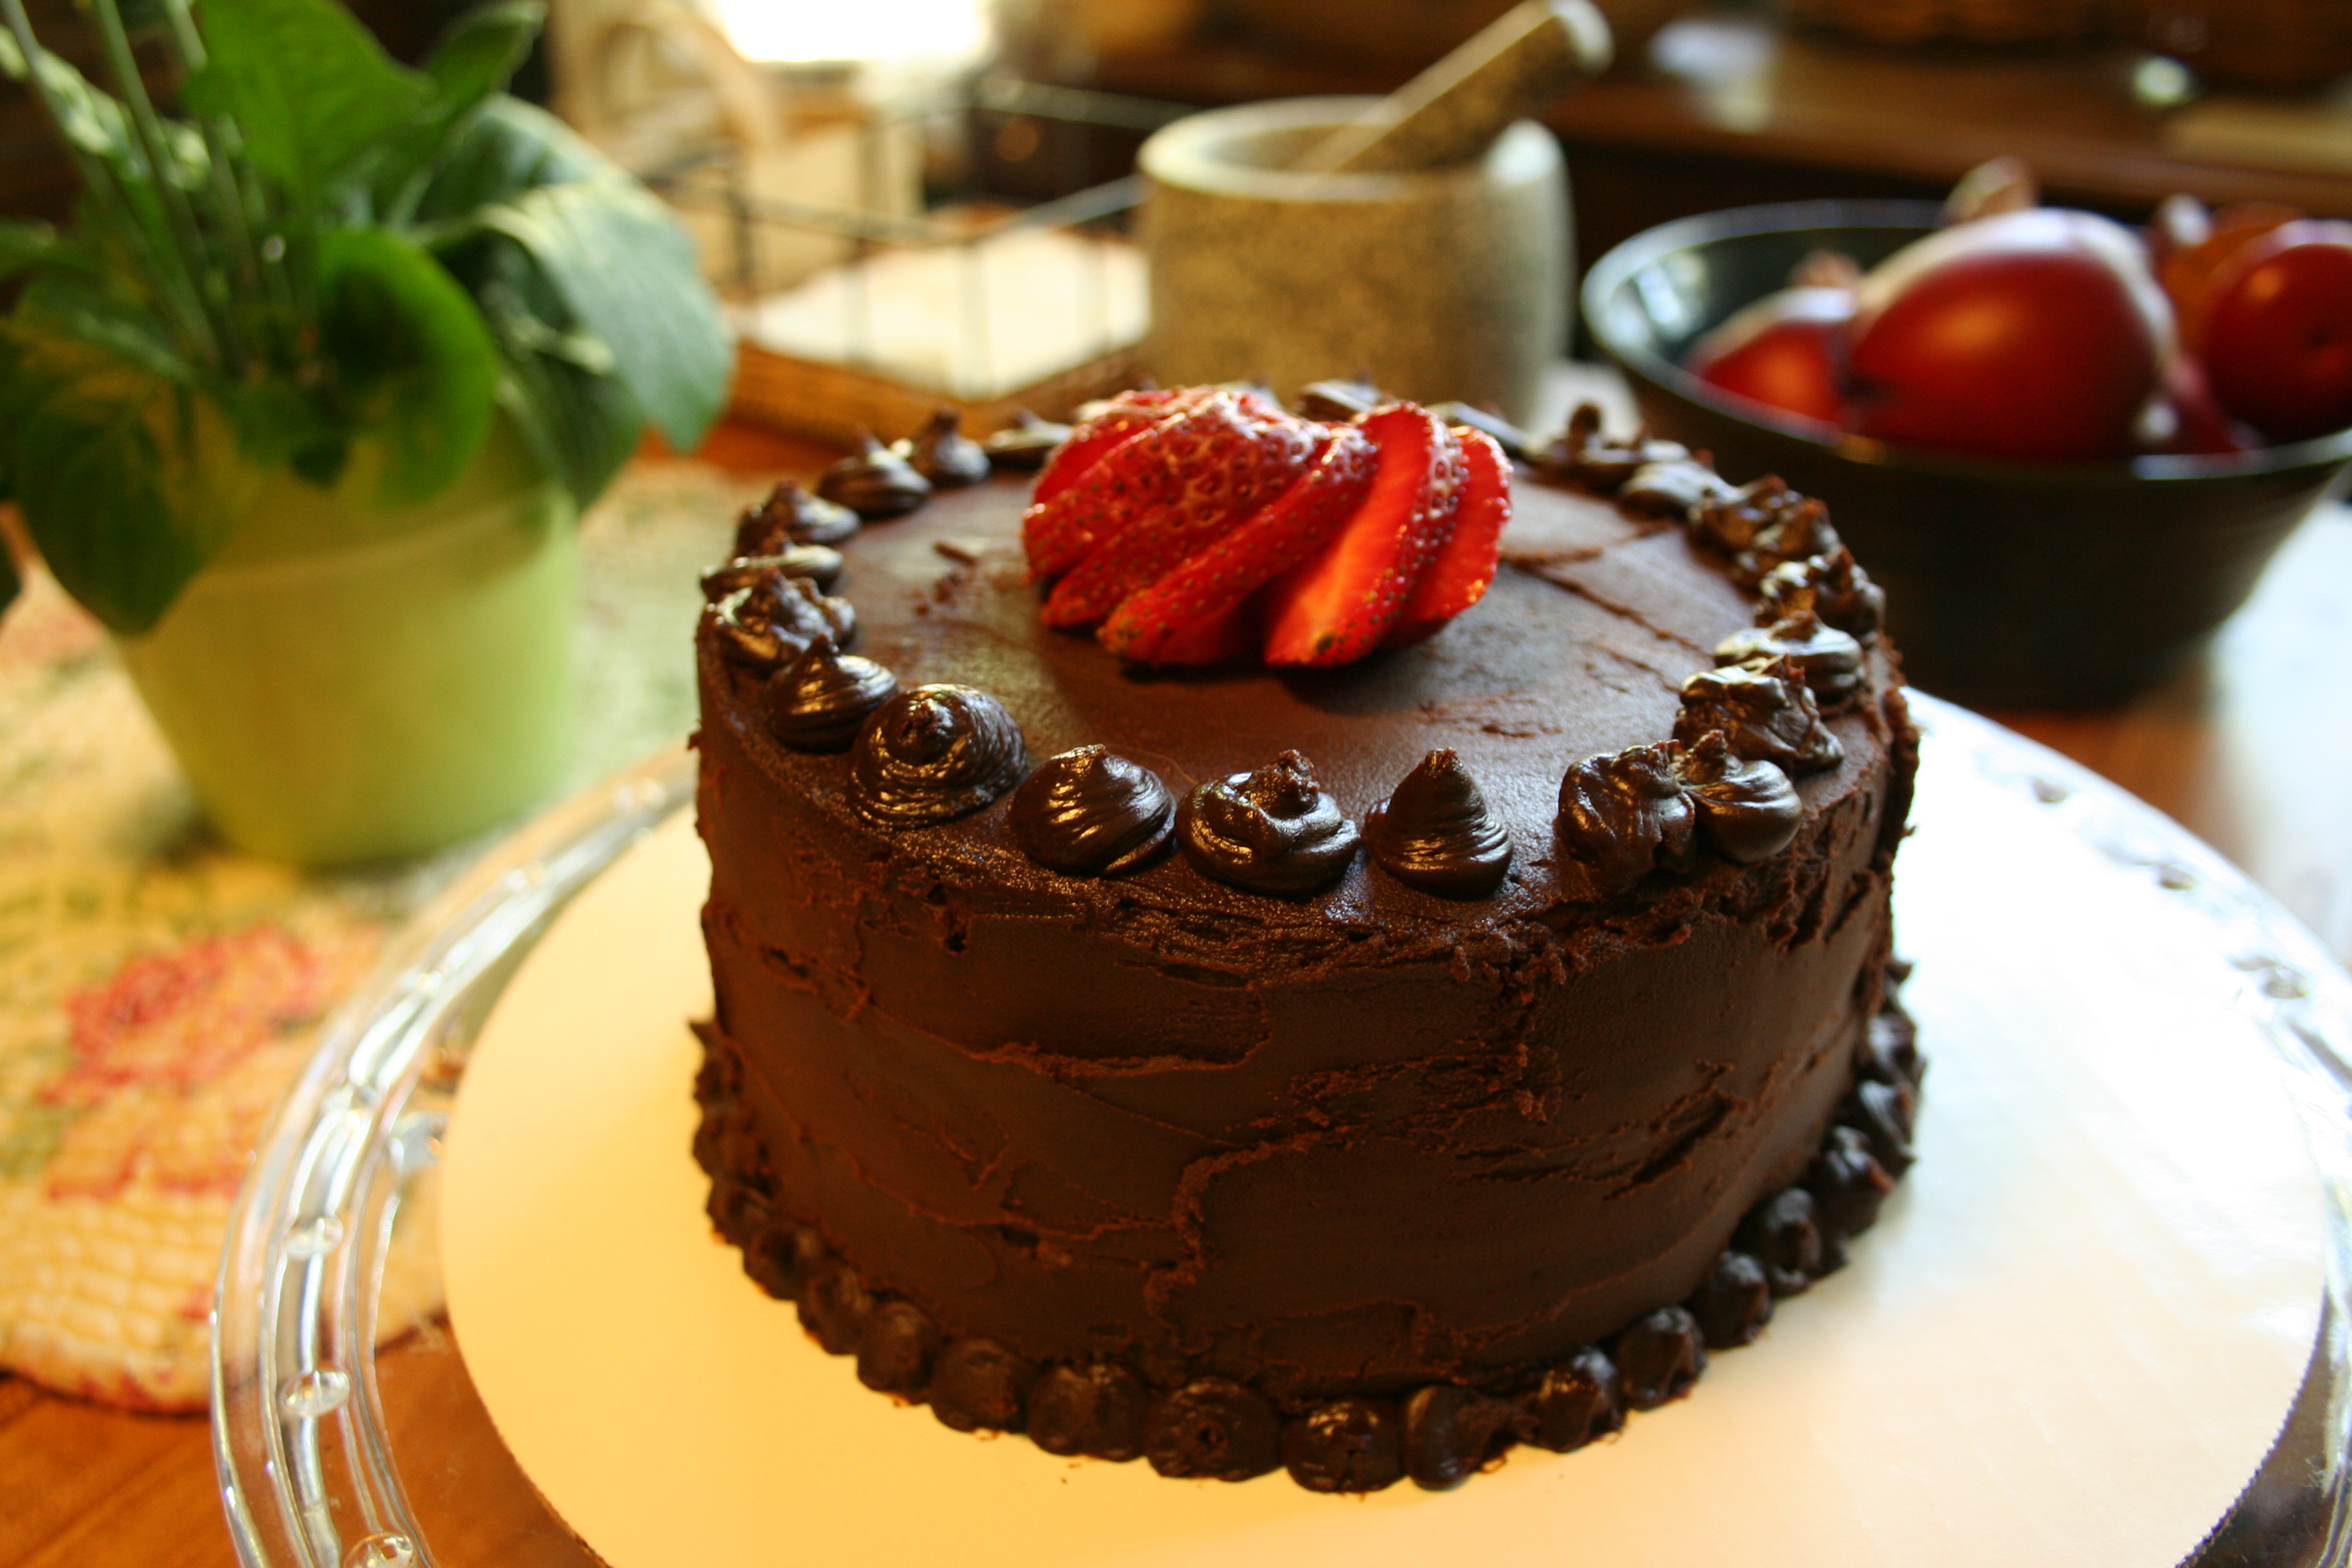
I had an early Easter dinner with my parents on Saturday. They’re going to visit my Grandmother for Easter this year and I won’t be able to go with them, darn plane tickets being so expensive these days. So instead of skipping Easter dinner altogether (unacceptable!) we had it a week early. And, of course, I baked a cake.
This is the first “real” cake I’ve ever made with cake, icing, and decoration all together. I wanted to get a practice one in before I started churning out cakes for the numerous special occasions coming up this year, and overall I’m pretty happy with it. For a first try I feel like I did a good job, but naturally have learned a lot.
Recently I bought a 6×3″ cake pan in preparation for the WeddSplosion going on. Not only does this make a great top-layer for a layered wedding cake, but it also makes perfectly sized cakes for special occasions like Easter.
In fact, I got to use a lot of fun tools for this project – 6×3″ pan, cake boards, icing tips, angled spatula, even my bread knife (not new, but still one of my favorite kitchen utensils). I like sinking my teeth into a thorough project, and this one was great for starting out.
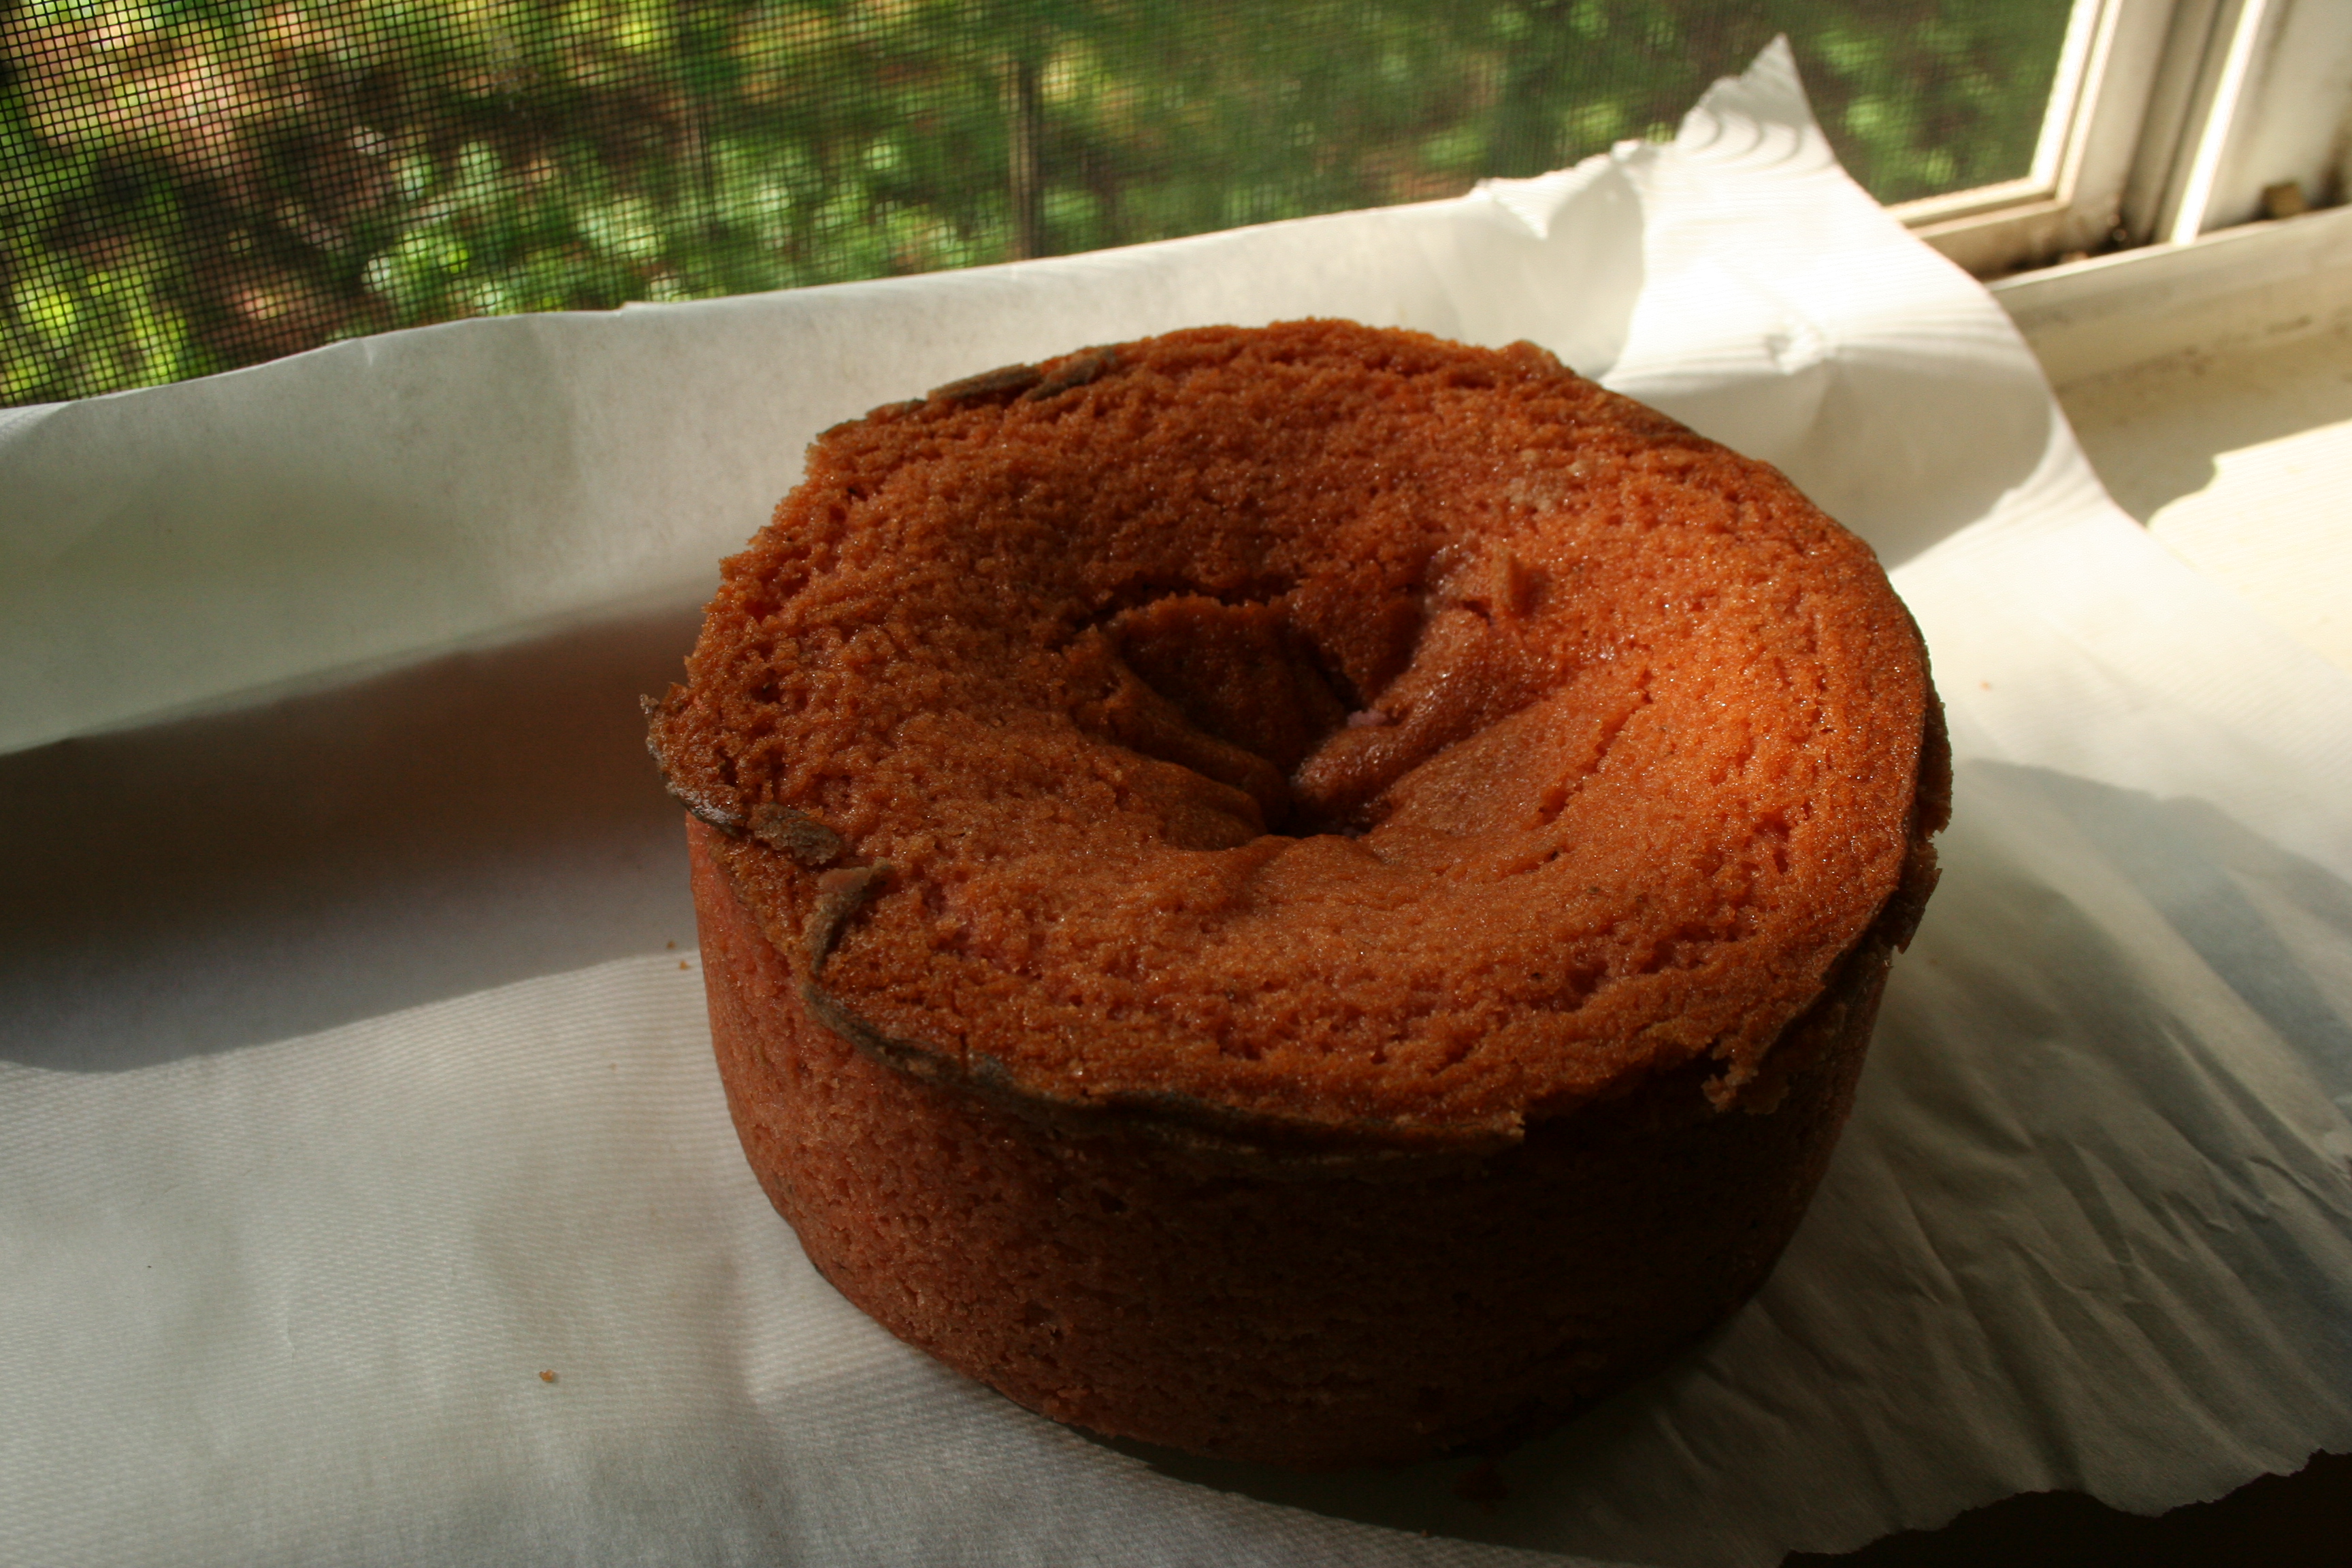
Let’s start with some lessons learned, though. For example, my strangely dimpled cake, shown above.
This recipe, which I snagged from the most excellent Jessica at Bake Me Away!, initially called for 350F for a 9×2 pan, but to reduce the temperature to 300F if reducing the recipe. Of course, I didn’t take into account that while my cake wasn’t as wide, it was also taller…so somehow baking at 300F in the end resulted in a divot in my cake. Next time I figure I should try 325 and see if it bakes more evenly.
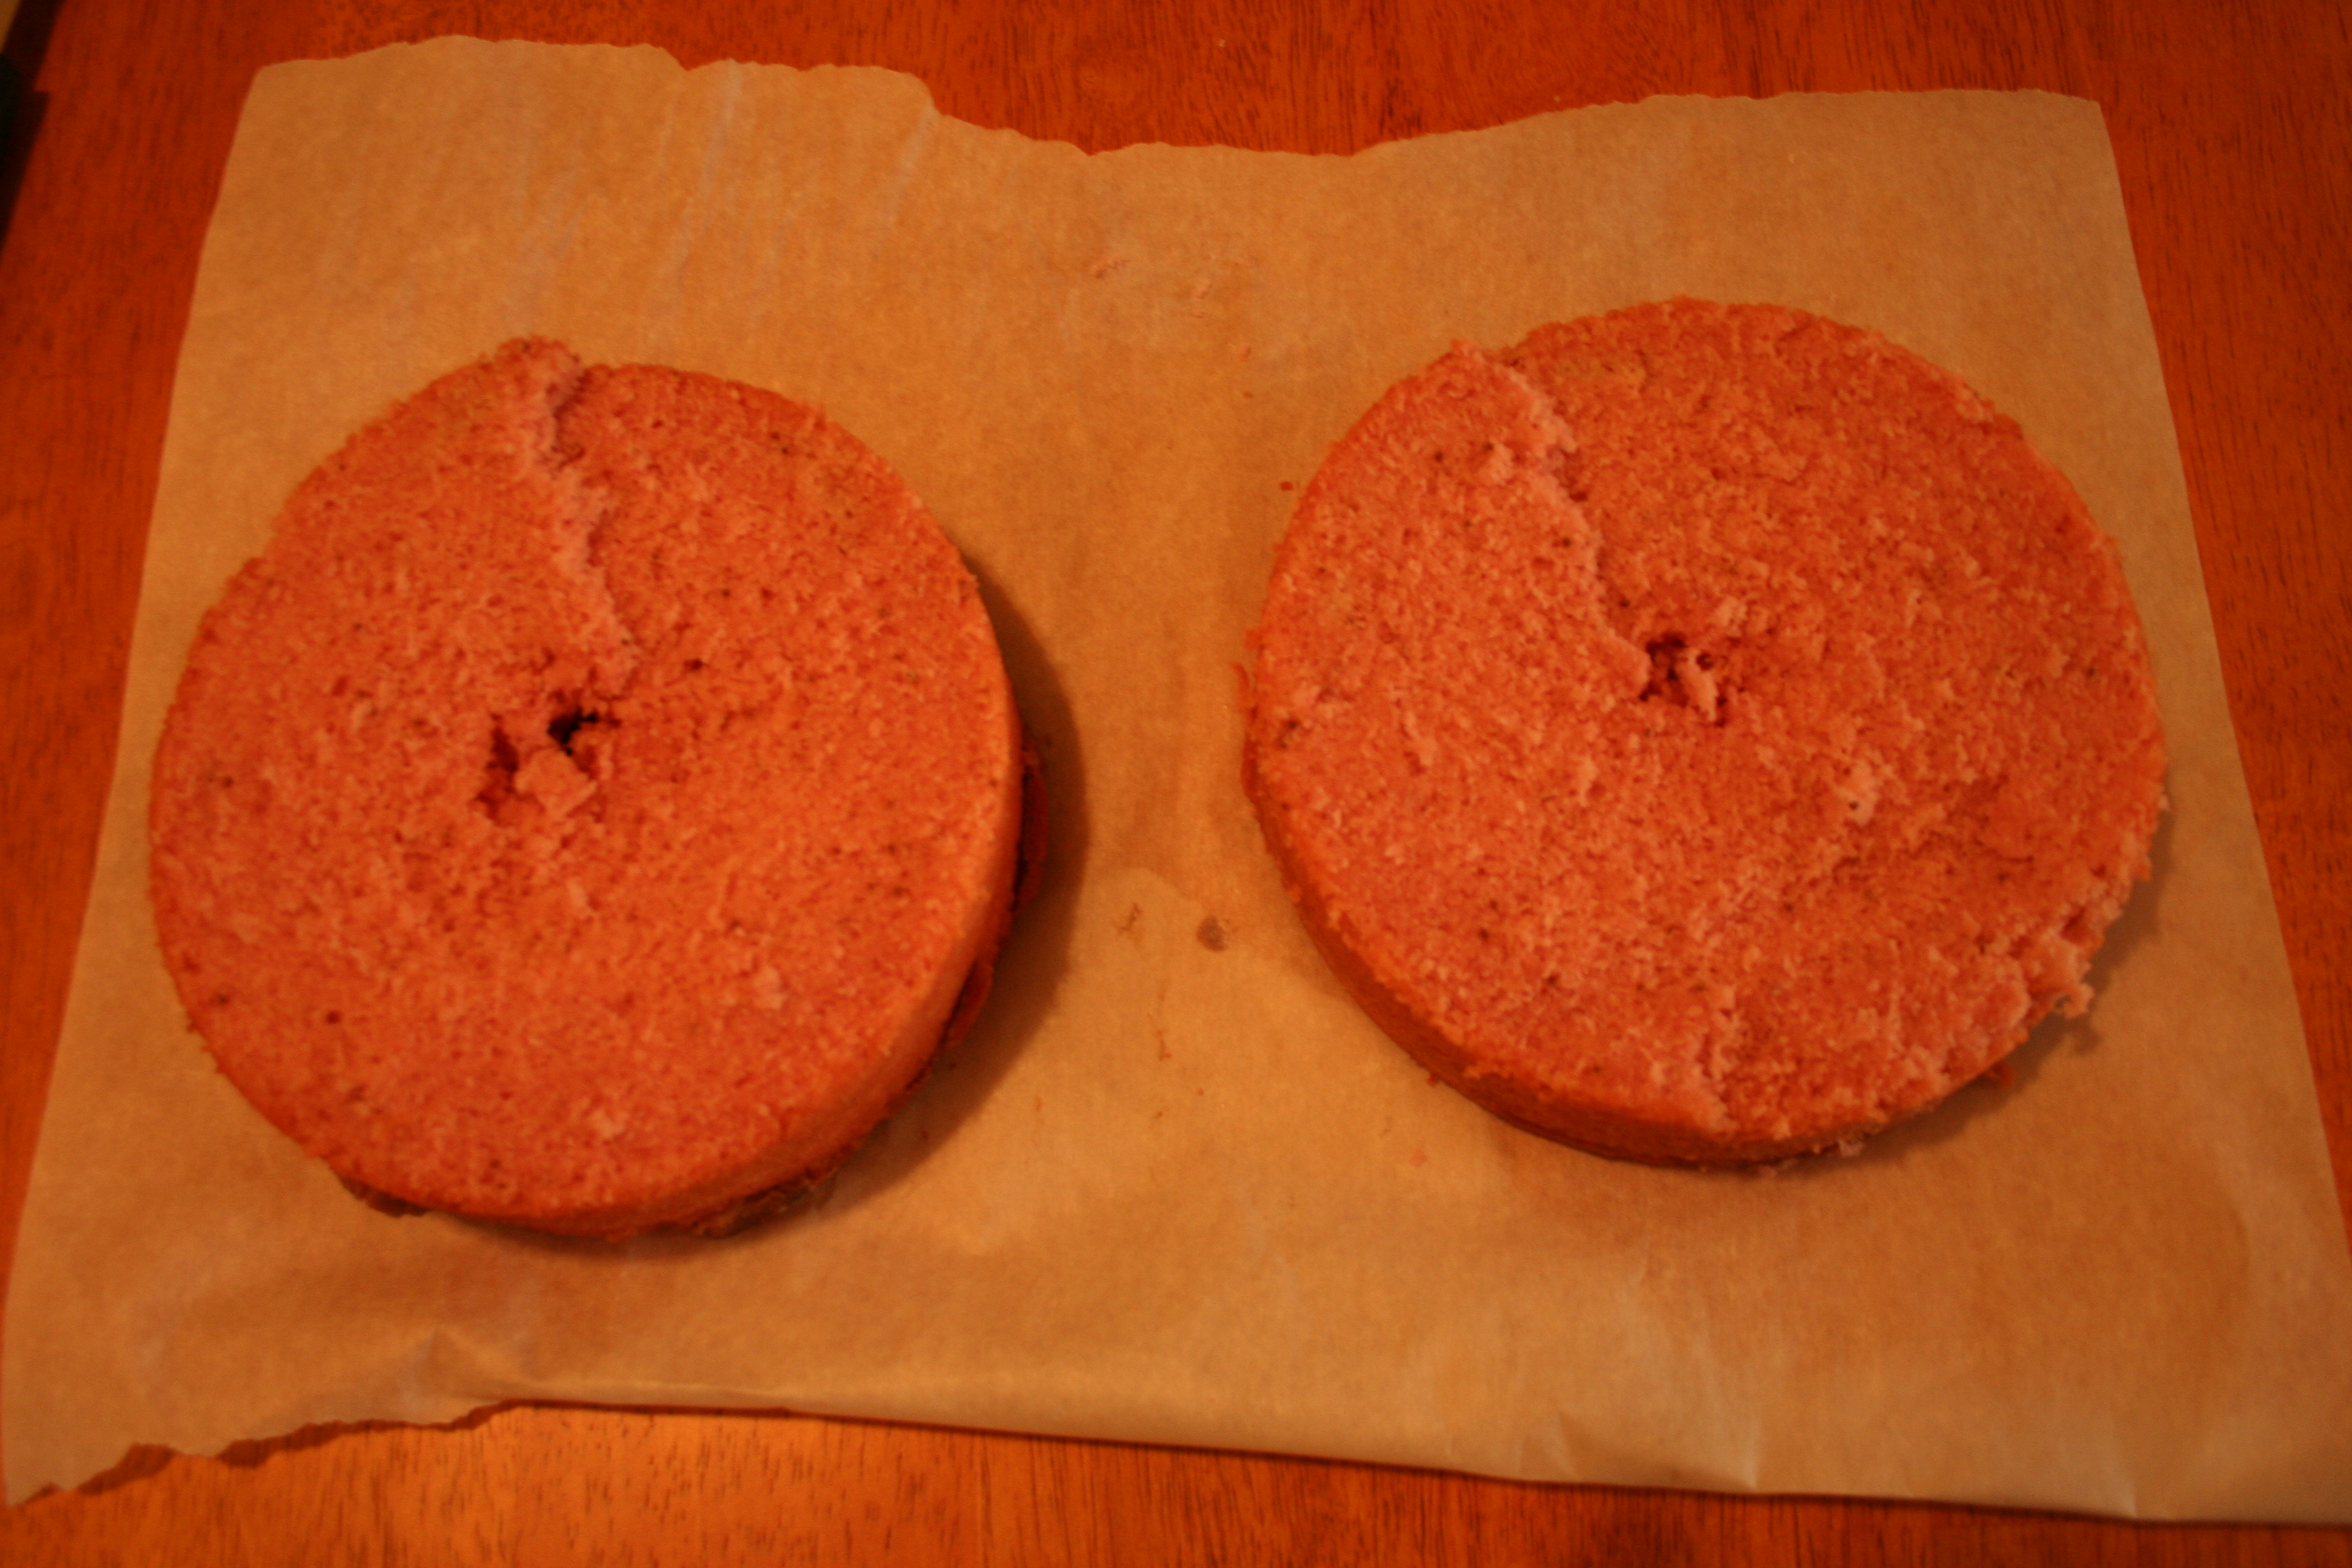
Another thing I need to improve upon is slicing a cake evenly. I don’t have one of those fancy cake-slicers, and I didn’t have any toothpicks to make the layer’s height, so true to form I winged it and ended up with a mediocre result. I did use a measuring tape, but I only made small cuts with my knife, assuming those would be enough to guide me. As you can see it worked moderately well, but since I but in a circular fashion, you can tell that I cut at a bit of an angle instead of straight. Better strategery next time!
The decoration was, unexpectedly, both very fun and not nearly as much of a pain as I’d anticipated. Per a recommendation from the oh-so-smart Victoria the District Chocoholic, I used a chocolate ganache type frosting (practice for the cake I must send to California), and it turned out wonderfully! I let it sit a little longer than I think I should have – it was a little stiff when I finally applied it – but it’s overall application went very well, crumb coat and all. You can see the texture in the middle picture, but it turned out just the way I wanted it to. I had to warm the ganache up just a touch to do the final piping, but even that went alright (even if it did end up a bit uneven. It has character!).
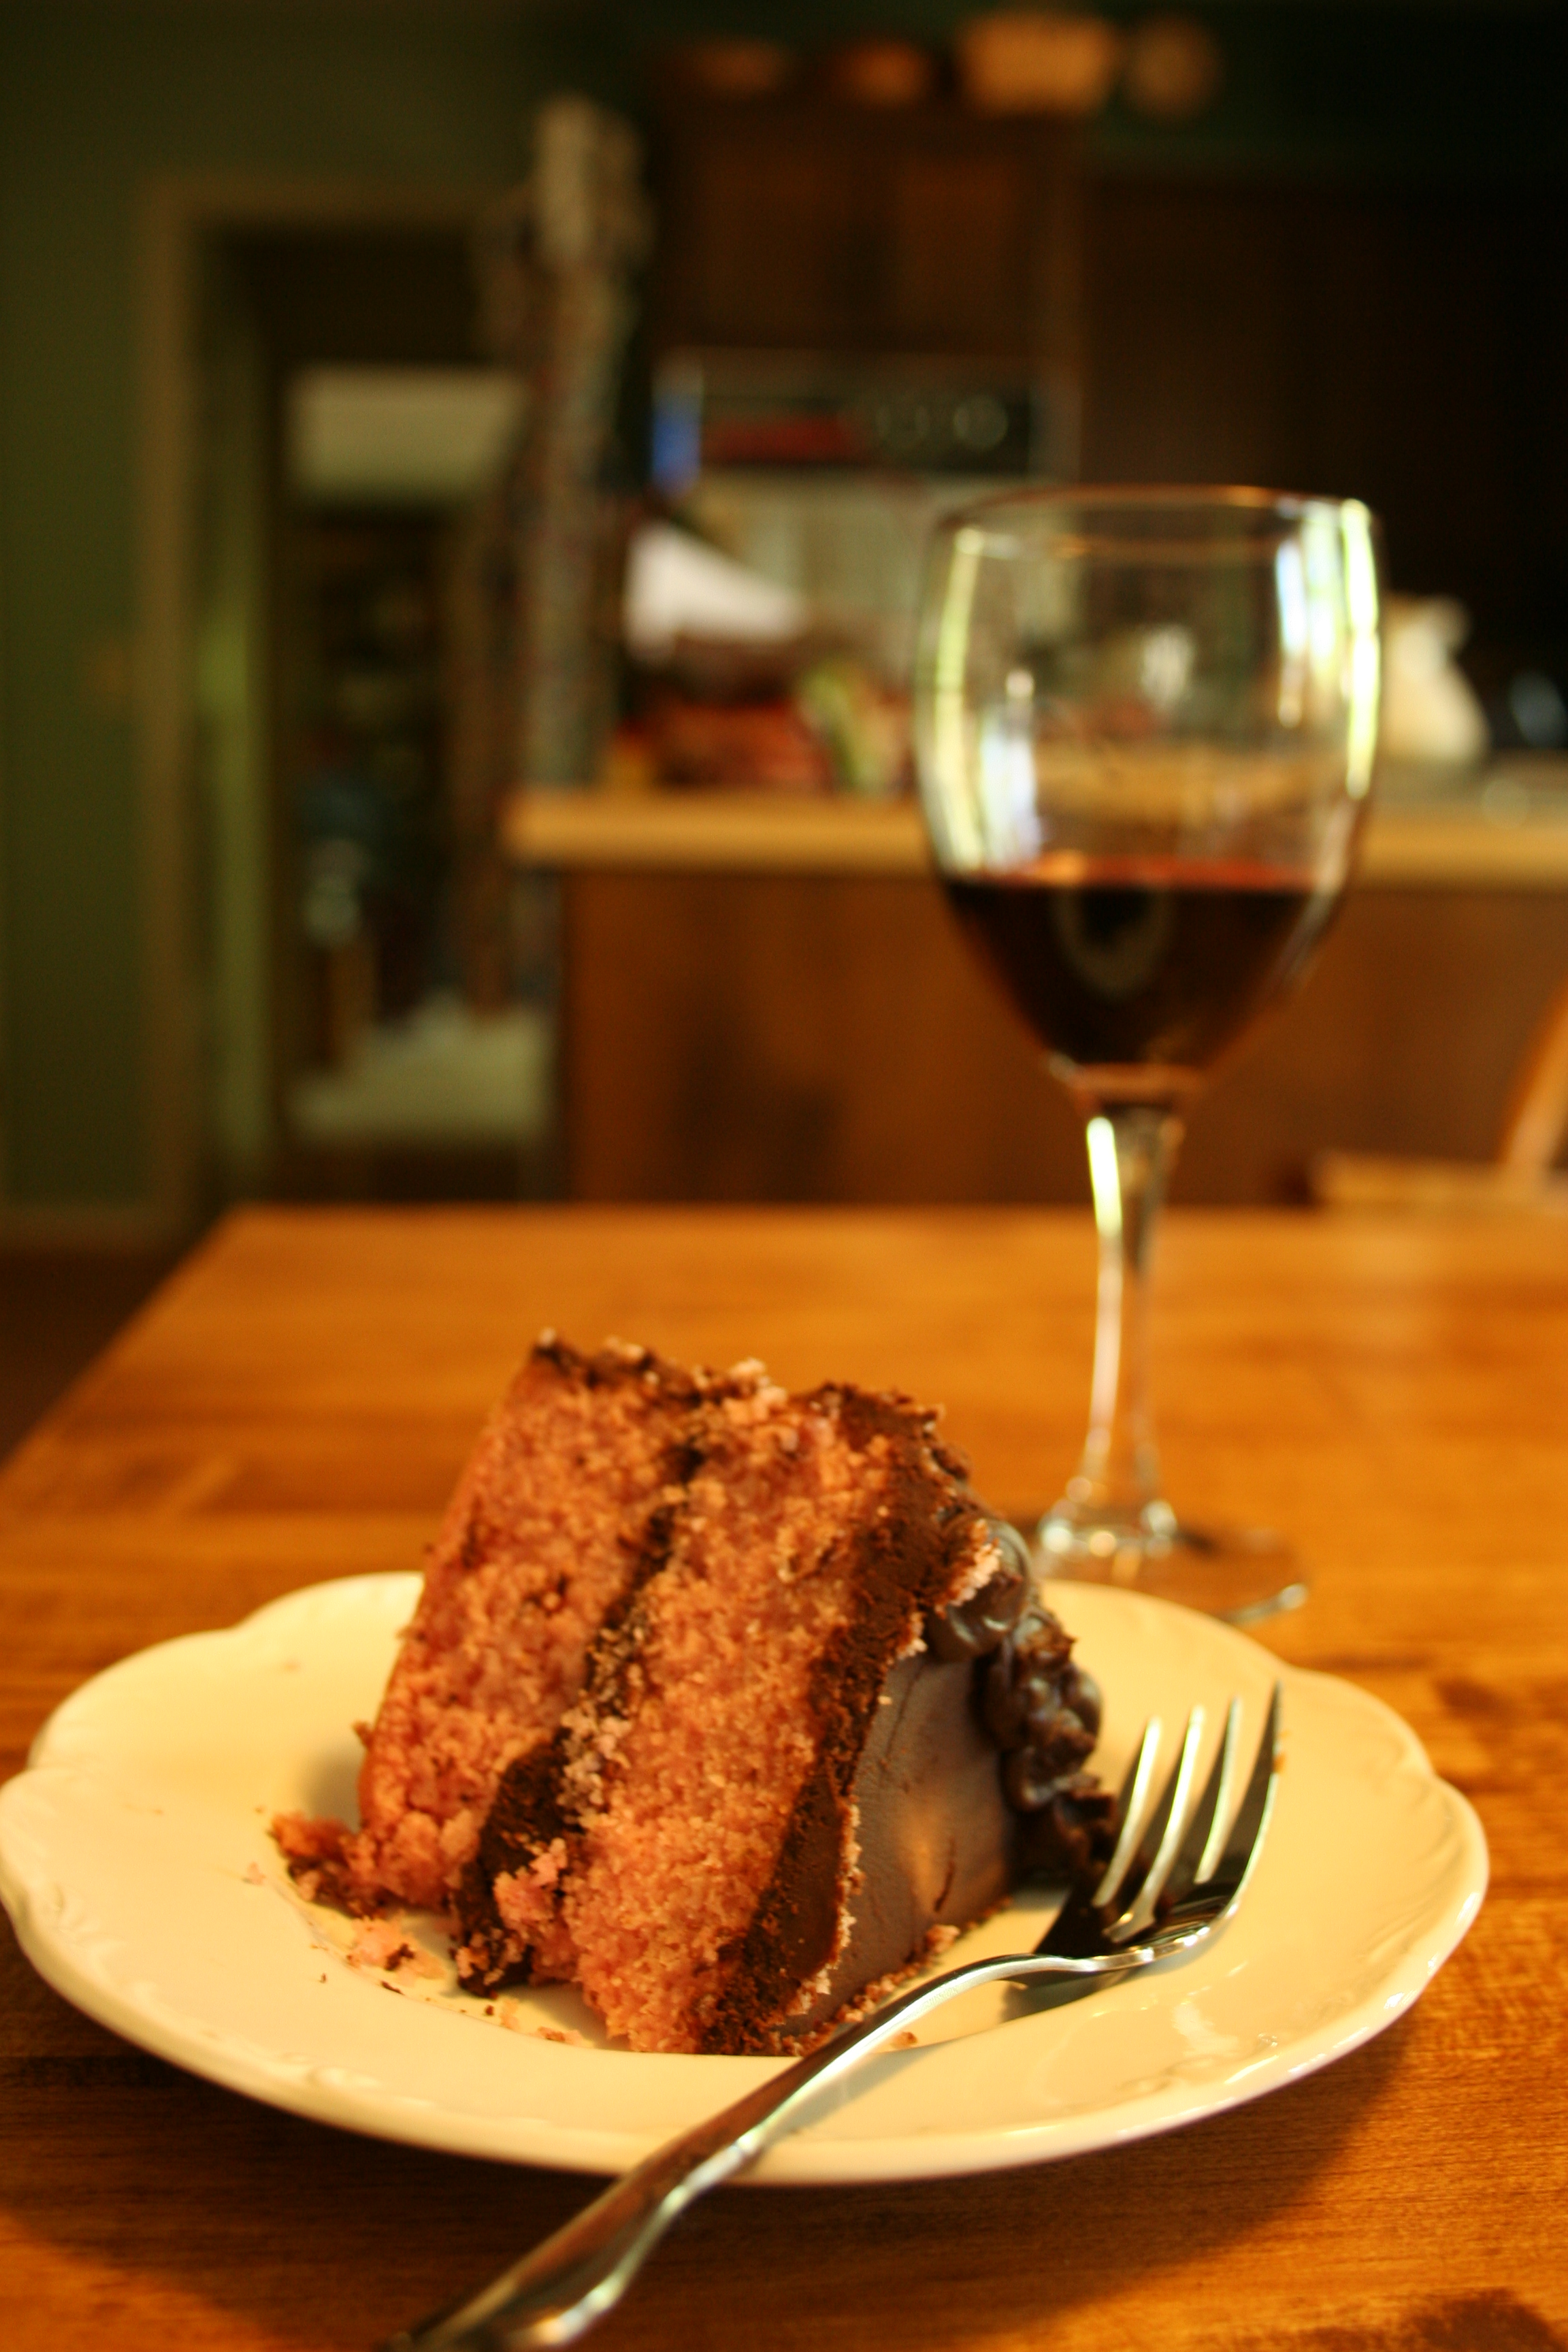
Final verdict? This was a delicious and fun experiment! The cake was the perfect size for sharing, and it was moist and sweet without being tooth-numbing. It’s definitely a flavor I’d be happy to make again.
Strawberry Cake with Chocolate Ganache Frosting
Adapted from Bake Me Away!
Ingredients:
- 1 1/2 cup flour
- 1 cup sugar
- 1 stick butter
- 2 egg whites
- 1 3/4 tsp baking powder
- 1 1/4 tsp salt
- 1/4 cup milk
- 1/2 cup pureed strawberries
- 2-3 drops red food coloring
- 1 cup heavy whipping cream
- 8oz sweetened chocolate
Instructions:
- Mix dry ingredients together.
- Add the butter, chopped into pieces, and strawberries to the dry mixture and mix for on low until combined, then on medium for 2 minutes.
- In a separate bowl mix together milk, egg whites, and food coloring.
- Add the egg white mixture to the strawberry mixture in 2-3 batches, mixing after each until just combined.
- Pour the batter into a buttered and parchment-paper lined 6×3 pan.
- Bake at 300F for 1 1/2 hours (I suggest fiddling with this…it didn’t work well for me. Maybe 325F for 1 hour?)
For the Ganache:
- Chop the chocolate and put into a bowl.
- Heat the whipping cream until just boiling and then pour over the chocolate.
- Let sit for 2-3 minutes to let the chocolate melt.
- Once the chocolate and cream is thoroughly combined, let sit for 1-2 hours or until room temperature. Then use to spread on the cake!
Mary Gezo
Formerly of both n00bcakes and !Blog, the two magically become one on Spatialdrift; expect some lazy baking and serious nerditude. Also, I love semicolons.


It’s a chocolate covered strawberry in cake form! NOM!! Such a fantastic-looking, perfectly-sized cake. I don’t know about the sinking in thing, but it may be the temperature thing. Also, I used one of those fancy levelers and my cake was still lopsided. 😀 Awesome job, lady!
I have always wanted to play with 6″ cake pans. They look so cute. I’m jealous. Nice work on the ganache.
Great job! I always cut my cakes unevenly. Icing hides everything
@Jessica – Glad you think it looks good! And I guess I shouldn’t spend money on a cake leveler? 😀
@Victoria – They are *very* cute. I think I will never make a full-sized cake again…it just doesn’t make any sense! And thanks for the ganache recommendation. It definitely worked out well.
@Stephanie – You’re totally right – icing does hide all sins. 😀