So, I’m pretty sure that I’ll be disqualified from the Daring Bakers challenges soon; I’ve missed several months in a row and have honestly not had the time to even think about it until now. I’m bummed. Maybe I can come back another time? I hope so.
But the good news is that I’m not disqualified yet! I still have access to the forums, so I’m going to continue baking their challenges until someone catches me. So uh…don’t say anything. Be cool guys, be cool.
This month The Daring Bakers go retro! Thanks to one of our very talented non-blogging members, Sarah, the Daring Bakers were challenged to make Croissants using a recipe from the Queen of French Cooking, none other than Julia Child!
It feels pretty fortuitous that croissants would show up on the DB Challenge the month I finally return to it; these babies have been on my “to-bake” list since forever. I bought the Flour cookbook when Borders started lowering their prices and have had their croissant recipe bookmarked for awhile now…I guess I just needed a little prod to kick things off.
For starters, the process was definitely lengthy – if I’d had one whole day to devote to baking these, it probably would have been possible to knock it out all at once, but I had to split it up into multiple days. Luckily the directions were broken up for just that situation, and I was really glad I didn’t have to wing it and make it up as I go along. Most of the time I’m fine with throwing caution to the wind and doing what I think is okay (I have a so-so track record with such decisions >.>), but when it comes to Daring Bakers, I try to follow directions more carefully. I can probably wing it with cakes…less with fancy croissants. ^_^
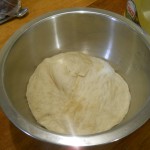
Day 1 of croissant had me doing the first 2 rises of the dough. I got the play with yeast again (successfully!) and after no more than 8 folds and a few hours of sitting, the dough doubled in size!
After the first rise, I gently pushed the dough into a rectangle and folded it into thirds, letter-style. I then put it back into the bowl and let it rise overnight in the fridge. Easy! Peasy! Day 1 complete! I hadn’t screwed anything up, and I felt accomplished.
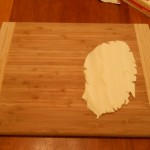
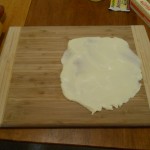
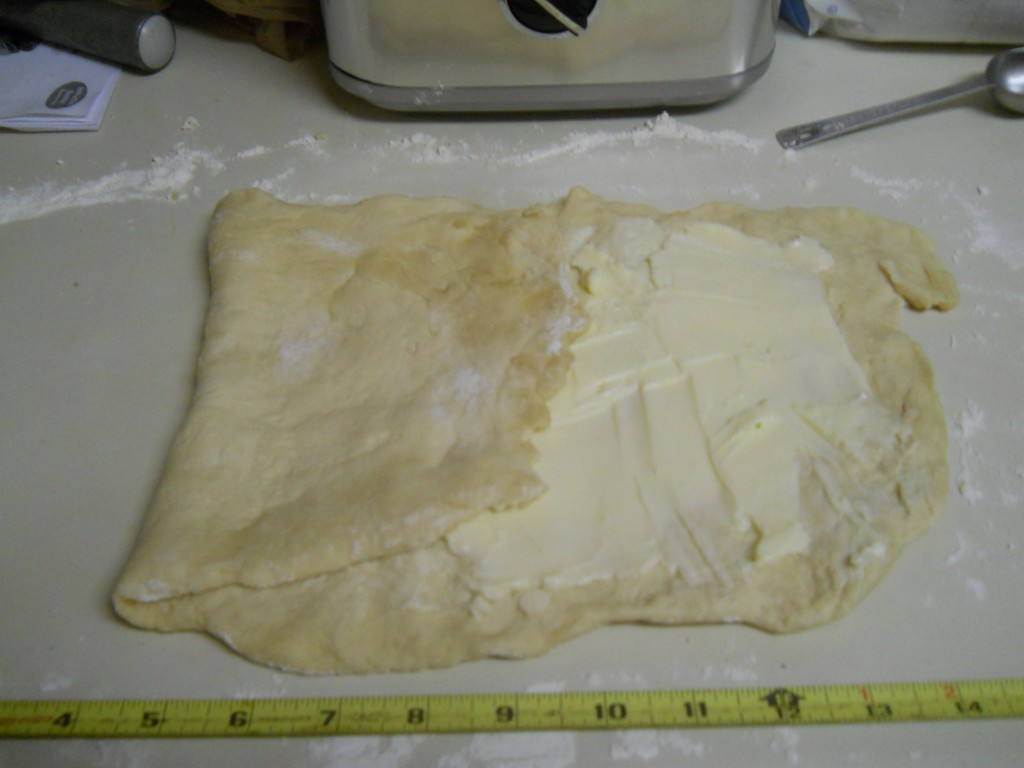
Day 2 was the day of butterage. Basically, you take a stick of butter and beat it into a flat sheet with a rolling pin (or other sturdy object) in order for it to be folded into your croissant. Kind of like cutting butter into pie crust but, in my opinion, easier and more fun.
The issue with the butter, one that I heard others having as well, is that once you layer it inside your dough and begin folding, it has a habit of squelching out of the edges. This was definitely a problem for me, but when it came right down to it, it didn’t seem to have any serious affects on my final product. It just made the rolling a bit messy. 😀
Then came the most annoying part….fold’n’roll!
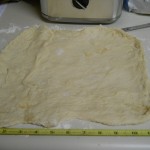
Once the butter is folded inside (like a “butter package”, so many people say) you roll the dough out until it’s long and flat. Then you fold into thirds again, and roll it out again. You do this a couple of times (getting flour and likely butter everywhere) until the dough is now butter-tastic. Then you begin with the cuttin’.
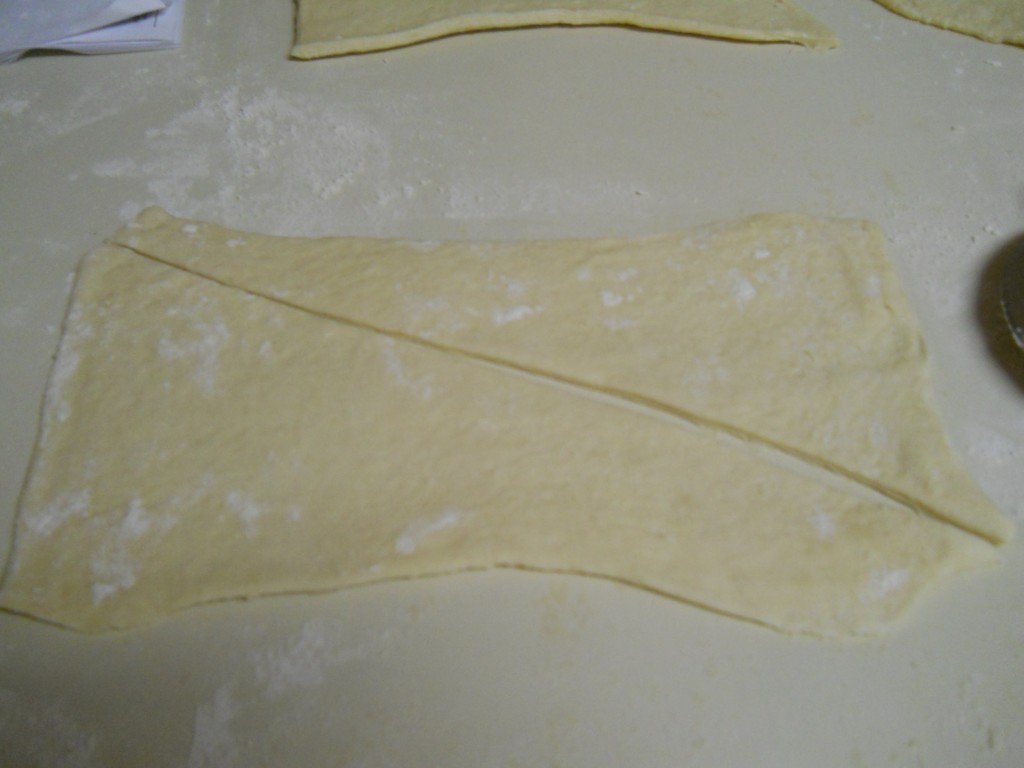
Once the dough is rolled out to 20×5 inches, you cut that dough into 2 pieces, then roll each of those into 15×5 inches (see what i mean by all this rolling?). Then you cut each of those 2 pieces into 3 pieces…and each of those pieces diagonally into 2 triangles. Then you gently stretch/roll them into isosceles and roll them crescent/croissant style.
Some of the croissants I didn’t have the patience to get rolled into perfect triangles, so they were a bit rounded at the top angle. They tasted just as good, though. Mostly they looked just fine, though. Very croissant-like.
After some egg-wash they were popped into the oven for ~12 minutes. An excellent smell followed.
That day my good friend Andrew from DC had flown into town for a visit, so I had a group of friends over for a mini dinner party. Spaghetti, meatballs, salad, wine, and croissants (italian + french = win). Magically things were timed out fairly well so everything was still warm when it was served. And the croissants were definitely a hit – tough to say no to warm, yeasty goodness when such a fabulous meal surrounds it.
Overall I found my croissant experience pretty pleasurable. For something that seems fancy, it’s actually not terribly complicated; it’s just a recipe you need patience with. Rolling out of dough isn’t exactly my favorite thing when it comes to baking (I don’t have much of the aforementioned patience, plus I have a tiny counter…not very good for 20×15″ rectangles of dough. O.o), but even so this is something I’d consider making again for special occasions.
I only had two thoughts concerning their final appearance and texture. First, they seemed awfully…well, yeasty. Which isn’t a bad thing – they were delicious. But they were awfully heavy, considering all the croissants I’ve had were lighter and flakier. Maybe I didn’t fold correctly? I’m not sure. Second, as you can see in the above picture, some of my rolls baked slightly apart. Again, not a big deal, but it made them look less croissant-y. Anybody have these problems too?
Now go forth and croissant-inate!
And finally, Emily is back taking awesome pictures of my food and helping me eat the leftovers. She is awesome, and makes my blag look so much better. Hooray!
Croissant Recipe
Here! Because I don’t want to type it out!
Mary Gezo
Formerly of both n00bcakes and !Blog, the two magically become one on Spatialdrift; expect some lazy baking and serious nerditude. Also, I love semicolons.








I do love that last photo:)
I’ve made fake croissants before, without all the crazy rolling. I guess that’s why they were called butterhorns, rather than croissants, huh? They turned out nearly as delicious, in my opinion… but I should definitely give the reeaaalllllll deal a go.
You’ll never get kicked out. You’re a stealthy ninja like that;)
jeeze I’ve missed the last million but this was one that I would have loved doing (i think i can still get into the forums all sneaky sneaky like). It also looks like a ton of rolling and rolling and rolling
@Emma – Aren’t those first and last photos nice? Those are the ones Emily took with her fancy camera and photography know-how. ^_^ And jes…I will ninja my way into the DB as long as I can…bwahahahaha…
@Stephanie – I hope I can keep doing the challenges…I have no idea how strict they are on the rules! I had given up on being able to stay in, but then I magically still had access to the forums…so you never know. 😀 And yes…so much rolling. @.@
Yours look gorgeous!! I don’t think you should ever get kicked out if you can make croissants like that. 🙂
These surely were a long process! Yours look great to me. I wonder if they separated out a bit because there was a little too much flour on the dough when they were rolled up? I think that stops the dough from joining back together in the final rise, so you get separate layers like that.
Bear in mind that I’m the girl who set hers on fire, so this isn’t really advice so much as a kind of musing 😉
@Jessica – Thanks! And yay! Maybe you can go to bat for me at the almighty Daring Baker Council! 😀
@Carol Anne – Thanks! And you know I think you might be absolutely right about why the layers separated…I hadn’t thought of that, thank! Also…I’m sure flaming croissants were at least VERY festive. 😀