This incredibly belated sequel to the den makeover in the early spring of this year is finally upon us!
It took a month or two to wrap up the important stuff, two months or so for me to accept that I should do a Part Two sooner rather than later and then highlight the finer details in a Part Three, and then another three months to finally get around to it. I really did want to have the room “finished” in the designer sense, but these things take time when you’re on a budget, so let’s just cover what made the room usable – since we’ve been enjoying using it for a while now!
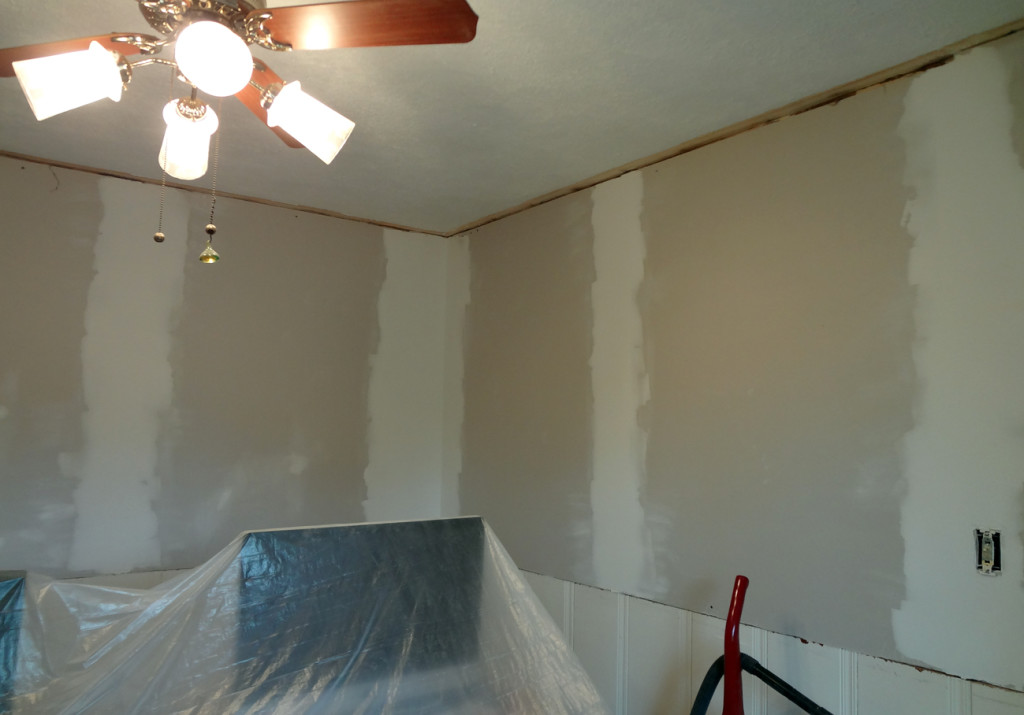
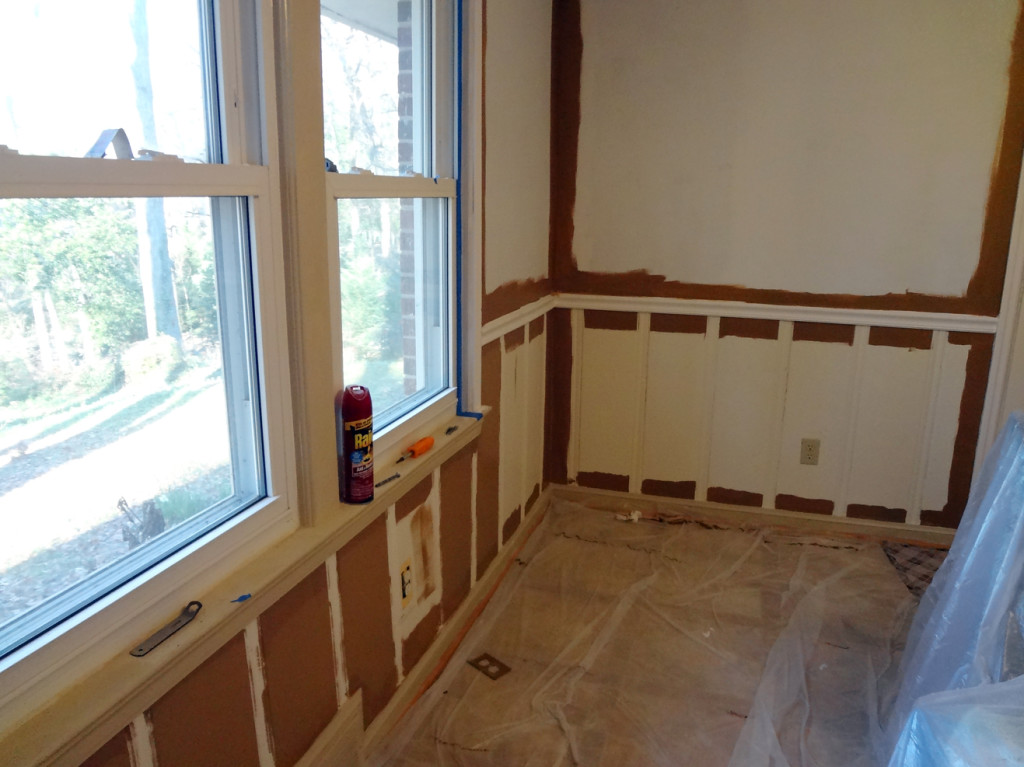
When we last left off, the new drywall was in place, but the room was still without trim.
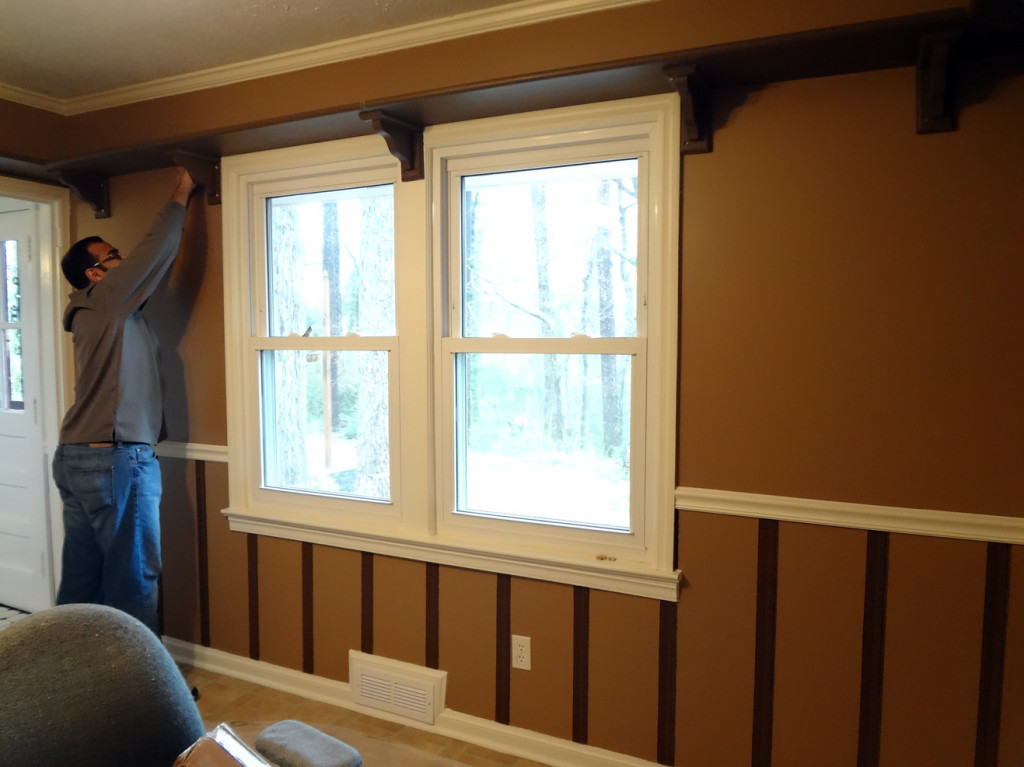
We added trim to the windows and doors, around the ceiling and across the gap between the drywall and our wainscoting. Adam caulked it all up to look right – sometimes extensively. We had our moments of doubt, but in the end it all looks great.
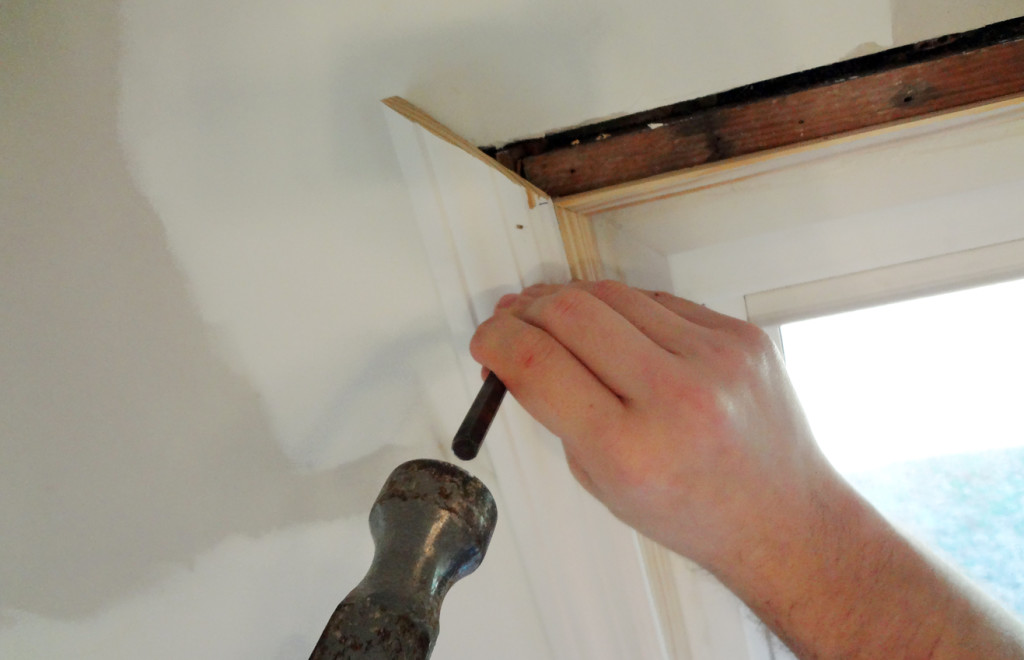
Adding the trim back around the windows and the ceiling.
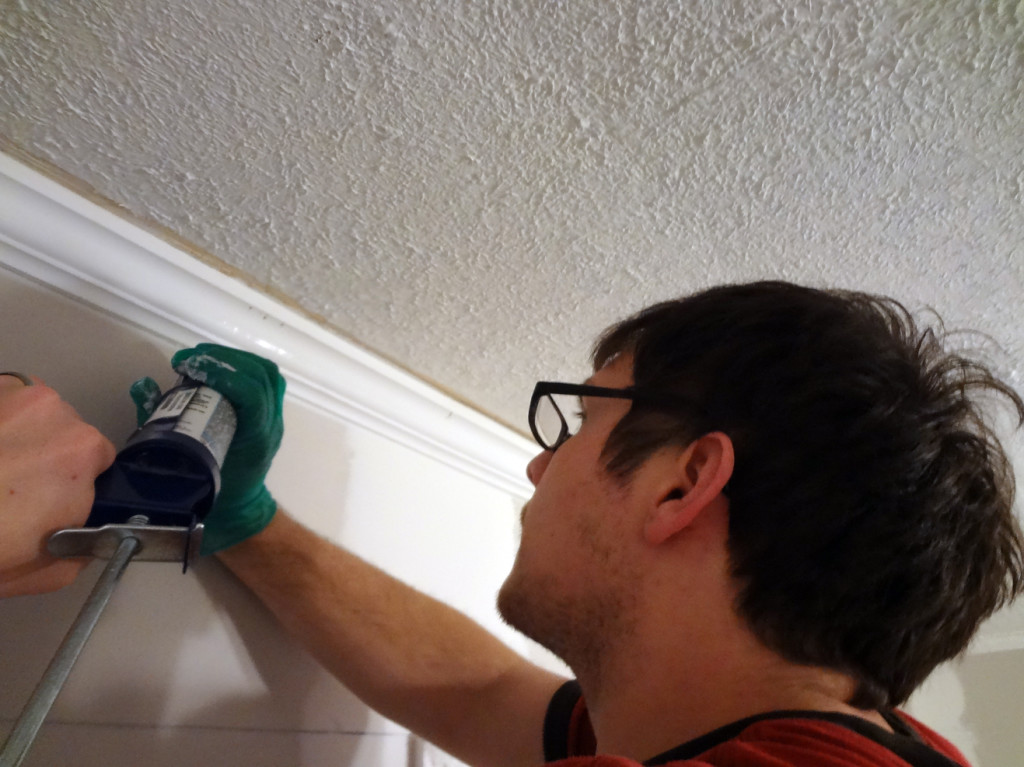
Caulking the trim.
Then we painted the old spackle ceiling bright white to brighten the room, and painted the ceiling, door, and window trims with our house-wide trim color: Benjamin Moore’s Adobe White.
Painting the ceiling to freshen it up. I would’ve loved to removed the lousy texture, but that’s a pretty big DIY undertaking, so we skipped it.
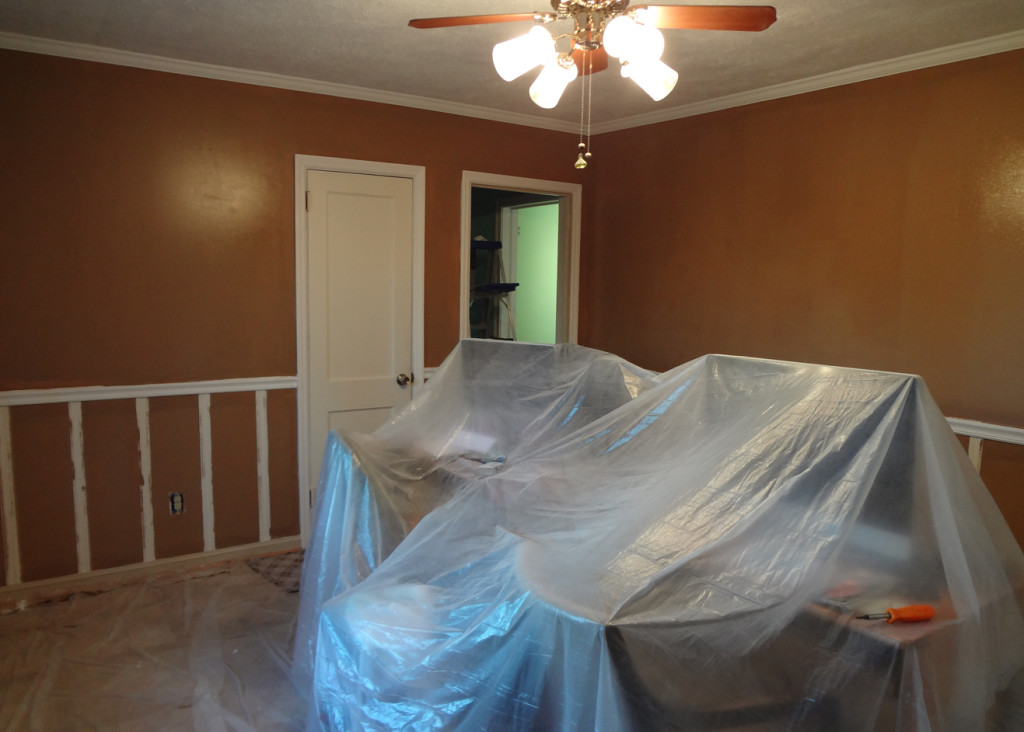
After that, it was one to painting the much-discussed browns! Adam and I (and our parents and friends) had a number of long, involved discussion about colors for this room. One color we knew we’d have is orange, so as to move our glorious orange vintage curtains into this room and have something a bit lighter and fresher in the dining room.
Having called so many of the shots throughout the house, I wanted this room to be driven by Adam’s ideas of what would make the room an awesome, comfortable, and somewhat retro gaming den (we’d be moving the current living room TV and all the consoles in there). Though I was concerned about the room being too dark, I stuck to my guns by keeping my mouth shut (mostly) and letting Adam do his thing. I think he did a great job.
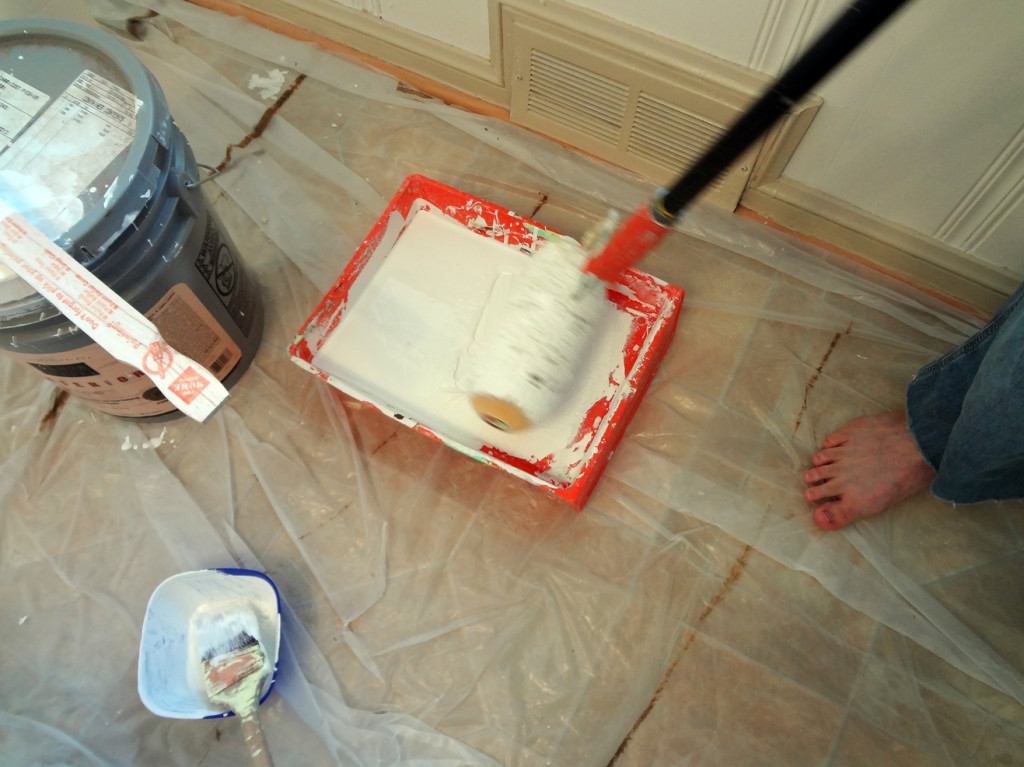
Cutting in for the light brown paint.
Light brown paint applied!
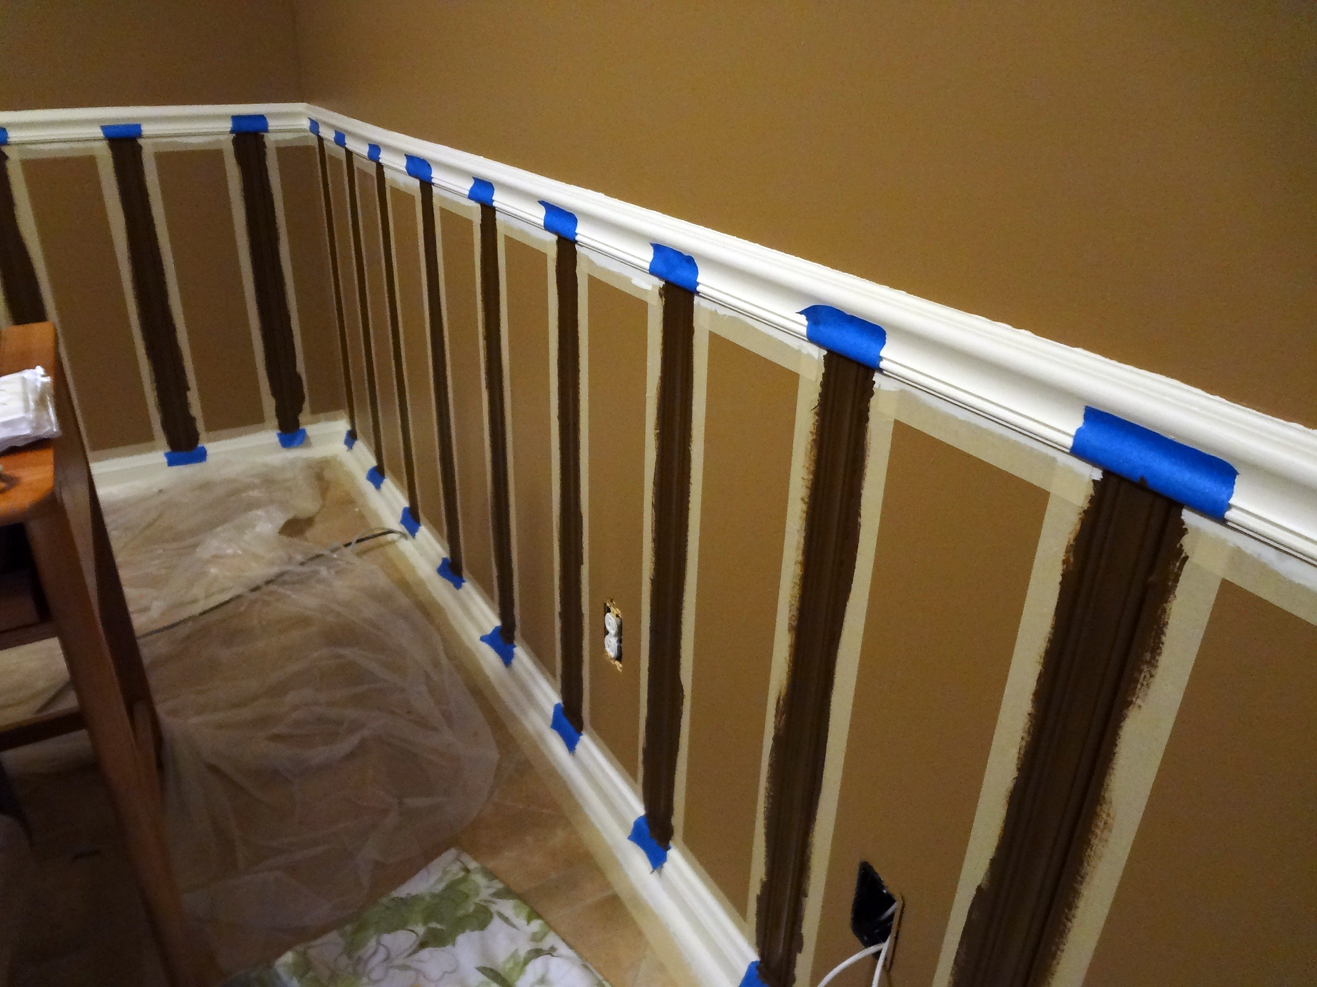
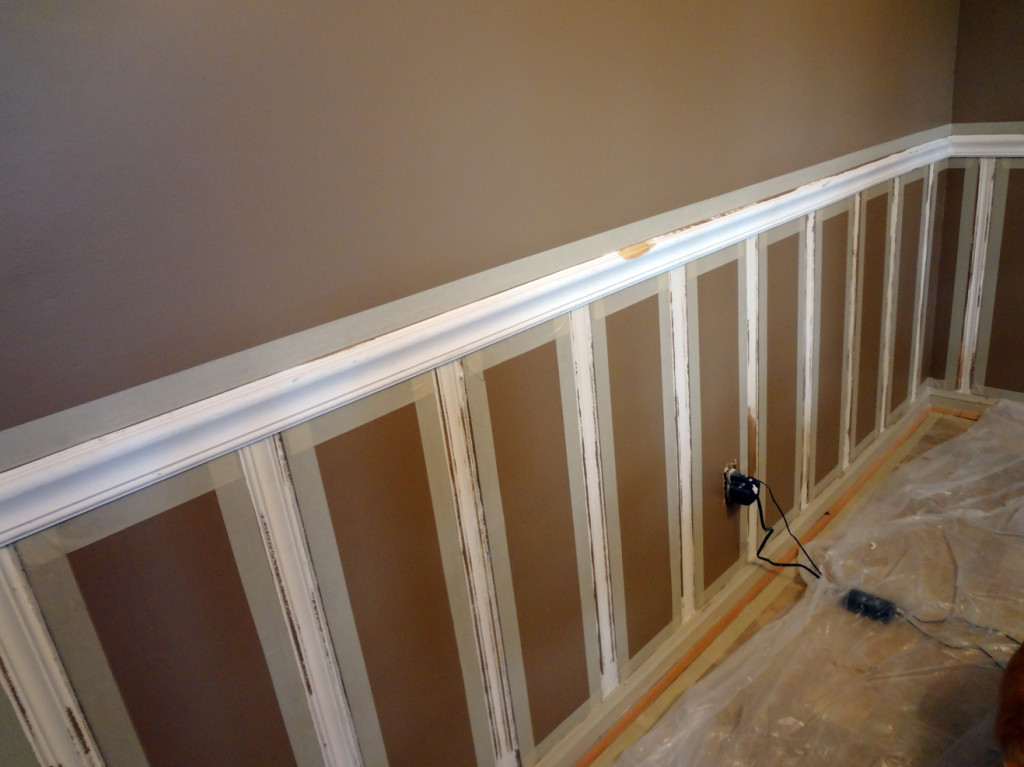
One of those mid-project decisions that inevitably crop up was the color of the trim. Ultimately we decided to paint the trim the same as the rest of the house, but originally it was going to be dark brown. But the trim we bought came primed, and the light trim looked so nice in the space that we changed our plan. We think the house has a more cohesive feel now that some elements are the same, which is important if you’re going to throw strong colors around like we do.

Applying the dark brown paint to our old paneling used as wainscoting.
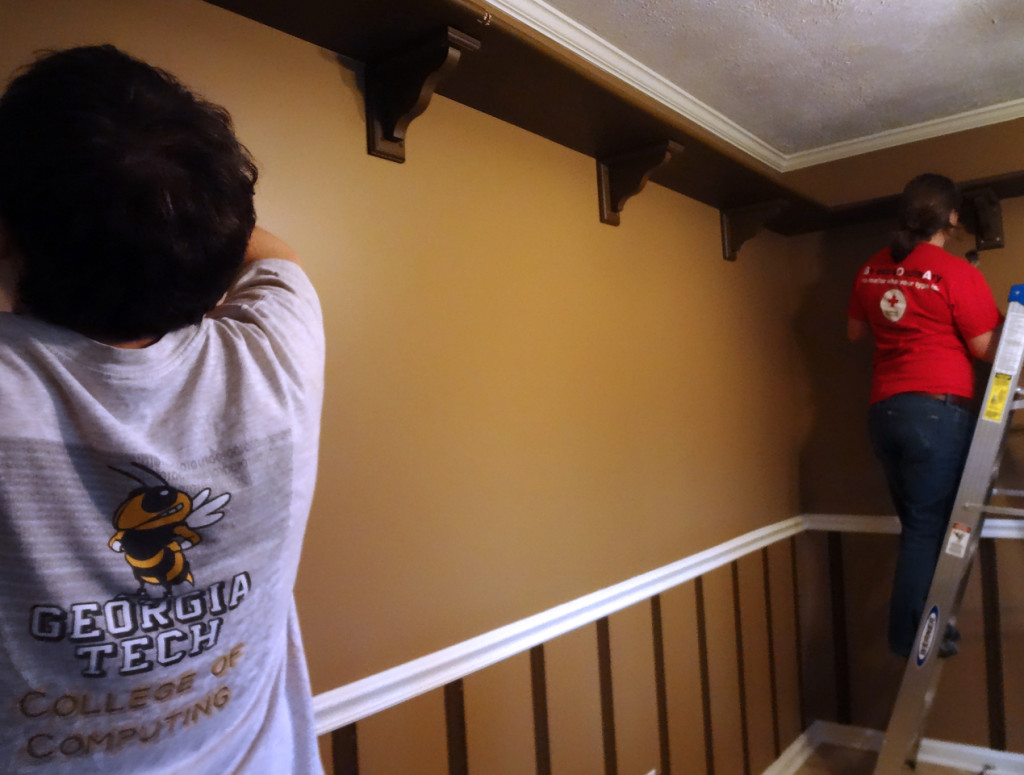
Next up was to add the built-in shelving we’d planned to go all around the room. This was challenging since this old house doesn’t exactly comprise straight lines and right angles. We used chalk lines to get the exact levels marked, and then tweaked from there to make things meet up and still look right compared to other lines in the room.
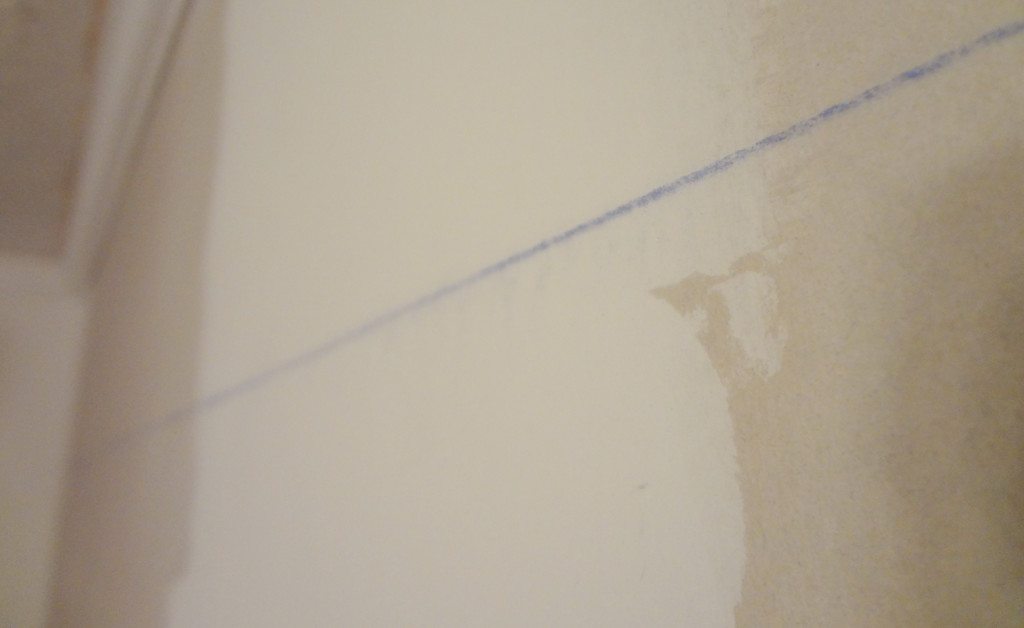
Marking a chalk line to hang up the shelving.
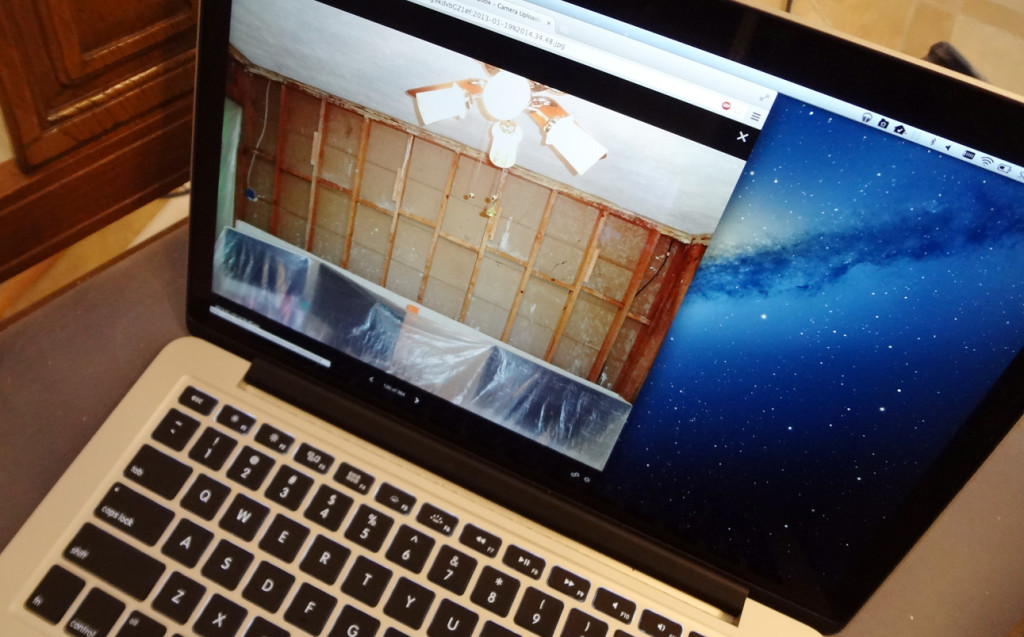
Using photos to see where the studs are (to place the supports for the shelves).
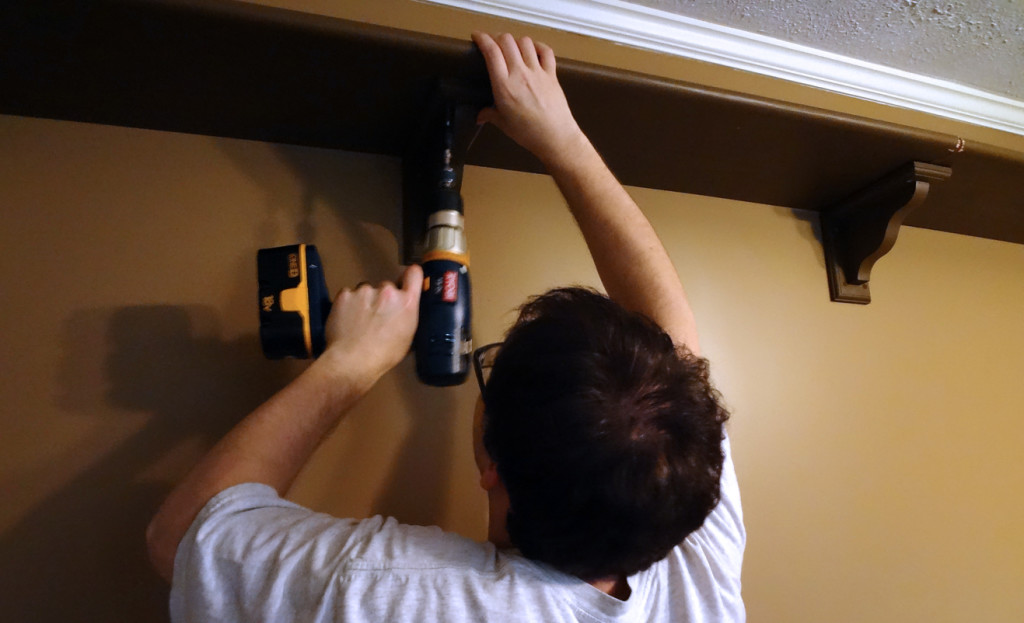
Putting up the shelves.
Mary and Kunal came over to hang out and help us put some finishing touches in! Thanks guys.
We had some help!
Putting the finishing touches in place – screw covers for the shelf supports.
Lookin’ good.
The work was easier in a lot of ways that other jobs we’ve done, and harder in the sense that we don’t have the same stamina we did to just come home from our day jobs and then work for hours like we used to do when we first bought the house. This project definitely took longer than we expected for that reason. It really came together though, with a few important adjustments, compromises, and new ideas that developed as the project progressed.
We had a stroke of inspiration for a feature that would really help make our room into the badass gaming den we wanted it to be. More on that and other nice details in the final installment, coming soon.
emily
Nerd. Foodie. Gamer. Homecook. Perpetual planner. Gardener. Aspiring homesteader. Direct response graphic designer. I use too many damn commas.
I do think it helps to only have one project going at a time. I speak with great experience. Never allow more than one project at a time. “Never more than one, never more than one, nevermorethanone…..” Now repeat that mantra.
I’ll try, but no promises! Haha.
And yes, awesome job!
Thanks!