For some reason I’ve always harbored a fair amount of scone-dislike. Some part of my brain always associated scones with a drier, less-tastier biscuit. Biscuits I love – they come with gravy, or butter and honey; they’re soft and flaky! Scones? You smile at them politely and wait for something better to show up on the table. Where did this prejudice come from? I really have no idea. Maybe Starbucks’ questionable pastry selections can be blamed. Everybody’s okay with blaming Starbucks for things, right?
Anyway, over time friends, family, and fellow food bloggers have assured me that scones are worthy of love and will not break my teeth, and that I should stop being ridiculous. In the spirit of open-mindedness (and in search of something new to bake, as well as something to do with leftover buttermilk – always a problem, amirite?), I did some recipe research and cobbled together a savory recipe of my own that, it turns out, is pretty killer.
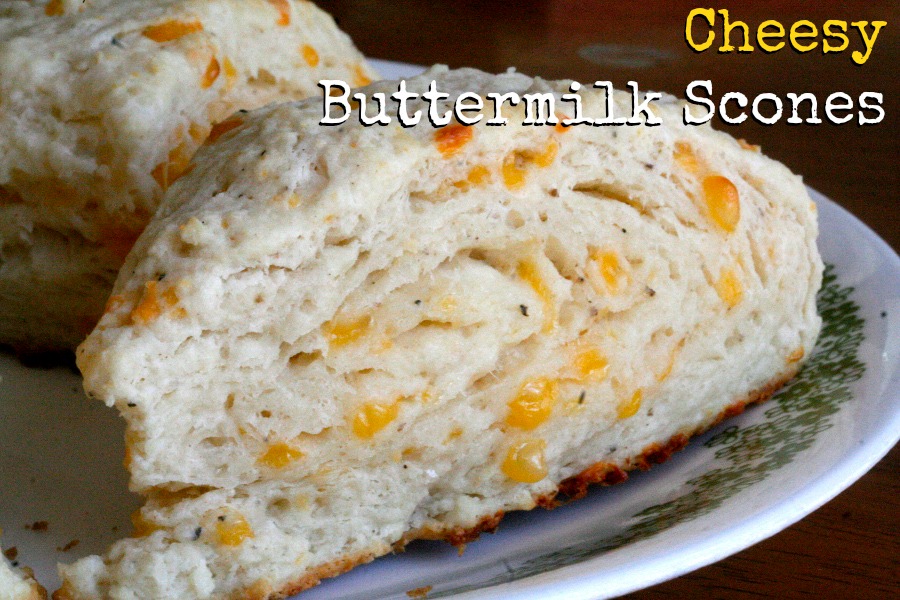
Cheesy Buttermilk Scones
I think one of the reasons I’ve steered away from scones in the past (something that possibly added to my nonsensical prejudice) is that it contains one of my least-favorite cooking methods: cutting butter into flour. The idea behind the technique is that you leave little chunks of unmelted butter in your dough so when it bakes in the oven you get flakes or layers in your pastry. To do this, you have to keep your butter cold until the last minute, at which point you chop it up into small pieces – using a food processor, dough blender, or even just a knife – and then gently rub, blend, or toss it in the flour. Since I don’t own a food processor this is typically this is a big, messy pain in my butt, but thanks to a tip from Jamie Oliver I found a much easier way to get my butter the right texture: a cheese grater!
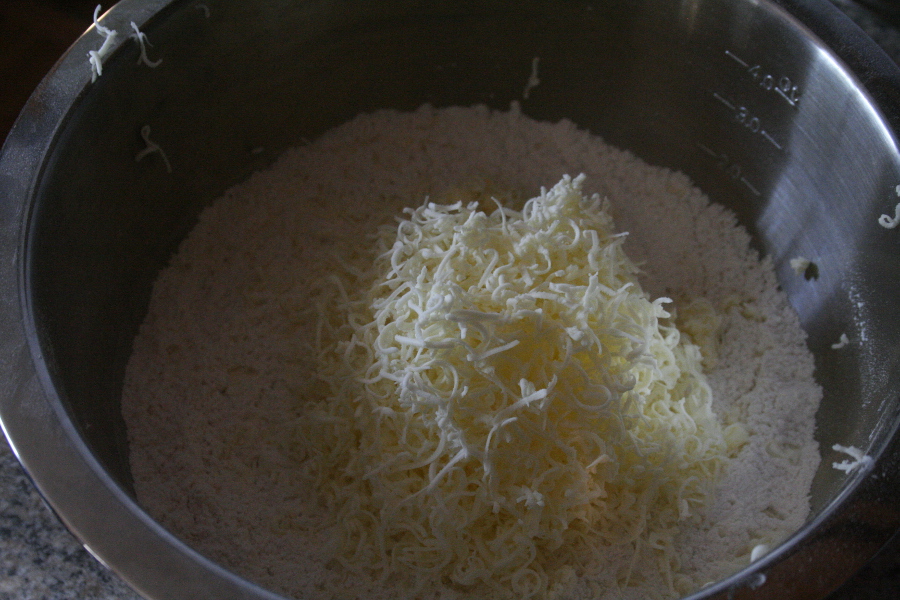
1 Cup of Grated Butter
It turns out that grating butter with a cheese grater works like a charm; it gets the butter into the perfect size (seen above!) and requires minimal tossing afterwards. Typically I chop up the cold butter with a knife and then spend 5 minutes rubbing flour into the chunks manually – a sticky and annoying process. Grated, the butter takes minimal massaging, and it mostly just takes a gentle toss. It’s great, and definitely encourages me to try more butter-cutting recipes in the future (biscuits, pie crusts, short cakes!).

Even with the super-advanced cheese-grating technique under your belt this recipe gets your hands pretty messy, but despite it all, this recipe has finally ended my hatred of scones – my misconception of them being dry and crunchy has been thoroughly squashed by this recipe. Soft and delicious, these scones are made best, I think, by the buttermilk and sharp cheddar. I’m almost tearing up, here!
Enjoy some delicious scones with your morning eggs, you guys. End scone-hatred now!
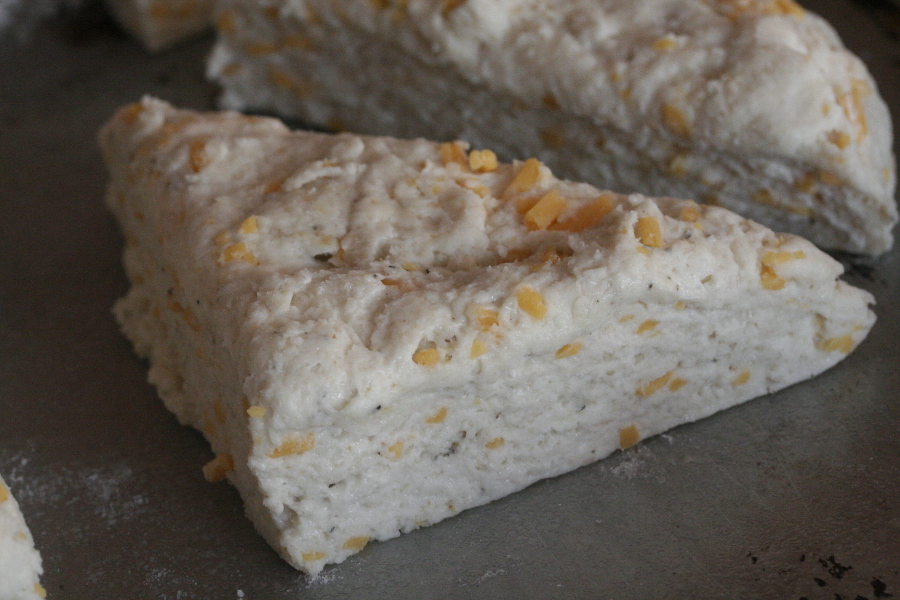
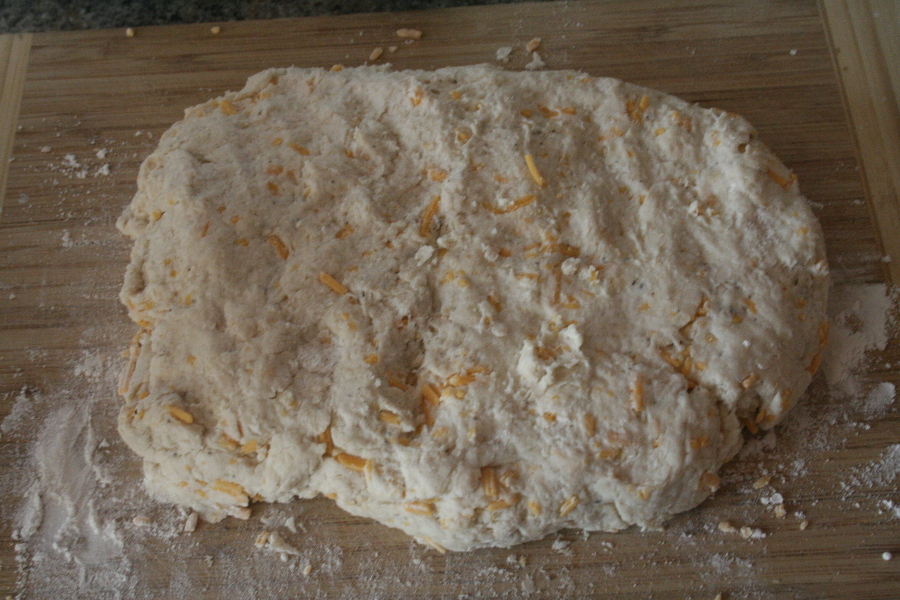
Couldn’t you just eat this raw?
Ingredients:
- 3 1/4 cup flour
- 1/4 cup sugar
- 3 tsp baking powder
- 1 tsp kosher salt
- 8 tbsp unsalted butter
- 1 1/4 cup buttermilk, cold
- 3/4 cup shredded cheese (I suggest sharp cheddar)
- 1 tsp black pepper
Instructions:
- Preheat your oven to 350F.
- In a medium bowl, whisk together all the dry ingredients (not the cheese).
- Grate/cut the butter into the dry mixture and gently rub with your fingers until it resembles bread crumbs.
- Add the buttermilk and stir with a wooden spoon until everything begins sticking.
- Add the cheese and fold it into the dough with your hands. Don’t over-fold; you don’t want the butter to melt or for the scones to get too tough!
- Put the dough onto a lightly floured surface and shape it into a rectangle, approximately 1 inch thick. You can use a rolling pin, but since your hands are already covered in flour from folding the dough, I usually just push the dough into the right shape by hand.
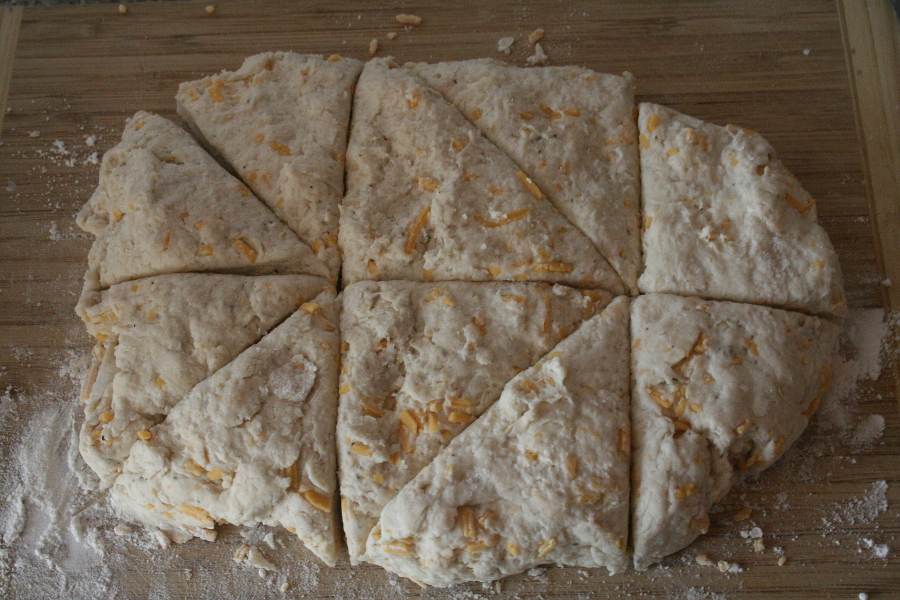
- Using a knife, cut the dough into triangles; I’m typically able to make 10.
- Place each triangle on a greased baking sheet, about 1 inch apart.
- Bake for 45 minutes (40, if you’re into a slightly-gooey center!).
- Let cool for a couple minute and CONSUME!! I think they’re good on their own, but a little butter and jelly or honey can give a nice sweet/savory combination!
Mary Gezo
Formerly of both n00bcakes and !Blog, the two magically become one on Spatialdrift; expect some lazy baking and serious nerditude. Also, I love semicolons.