Earlier in the week I talked about the frosting from the fabled Wedding Cake, so today we’ll talk about the cake itself and how I assembled it.
First, to be completely fair, the chocolate cake recipe I stole procured (commandeered?) from Rosie at Sweetapolita. I’ve mentioned her multiple times in the past for her amazingly tasty and beautiful cakes, but I’ll throw her name around one more time for good measure (she also taught me how to make swiss meringue buttercream successfully…she’s like a baking fairy godmother!). The chocolate cake recipe that she uses often on her blog is absolutely to die for; it’s rich, moist, and (my usual favorite) easy; it’s definitely a crowd pleaser, and I’ve received many positive comments on it.
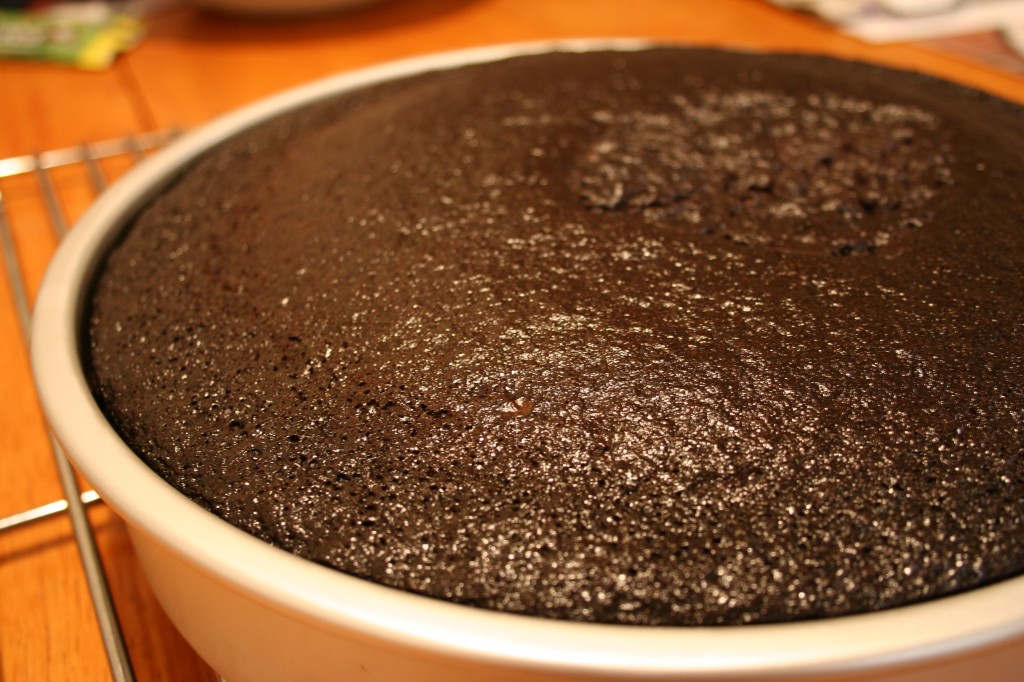
Delicious Chocolatey Awesome
The only changes I had to make to the recipe was re-jiggering the ingredient measurements to fit a 6×3 inch pan and a 14×2 inch pan; the original measurements in the recipe I found fit a 10×2 inch fairly well. Additionally, I opted to use warm water instead of coffee in the cake so as not to over-do the coffee flavor (this actually may not have been a problem at all; it was a quick decision I made early on and never took the time to “officially” test out. Just FYI).
Once I’d figured out new measurements and decided they were solid after a few tests, I had to figure out some logistics; specifically, I had to figure out how to handle the two 14 inch cakes.
See, I only made one 6″ cake because I baked it in a 3″ tall pan (IE, it was already tall enough). The 10″ cake required two layers, but they’re both small enough to handle carefully with my hands without crumbling to pieces (I do not have giant man-hands…just normal-sized man-hands >.>). The 14″ layers were a different story.
I baked the 14″ cakes four separate times.
The first time I only baked one layer just to see how my fancy baking core worked (it did). Despite the baking core success, however, it was at this point I realized that my baking racks are actually slightly crooked: one side of my cake was decidedly thicker than the other. Hmm…
The second time began very well; I baked both layers of the 14″ cake, then jetted off to the store for more eggs so I could make frosting. When I came home…well. It was an unhappy night for both me and my dog (for pet-lovers no, Ripley did not get chocolate poisoning; she actually only took a few bites of it, from the looks of things when I returned home. No emergency vet visits!).
The third time I had everything in hand. I had both cakes baked, and both were firmly on the kitchen table where no intrepid dog could attempt sabotage. I put the cardboard circle over the top of the first pan and flipped the cake successfully onto it. Unfortunately, with the second layer I was foolish. I said to myself, “Self, this 14″ cake isn’t THAT much bigger than the 10″. If you flip it onto your hand and forearm, you can quickly slide it onto the first layer, and sunshine and rainbows will rain down around you.” I did this, and the cake promptly broke into 5 separate pieces. I cried a little, then jigsaw-puzzled it onto the first layer and used frosting to cover [most of] the indiscretion.
Nothing was not working. I needed a new tactic: I complained to my Grandmother.
Luckily, my Grandma is a genius and I am not. I complained about my failures so far and she paused, and then kindly asked “Well…you have a cooling rack, don’t you?” Yes, yes I did. “Well…why don’t you flip it onto the cooling rack and then slide it onto the first layer from there?”
Grandmothers are genius, I say.
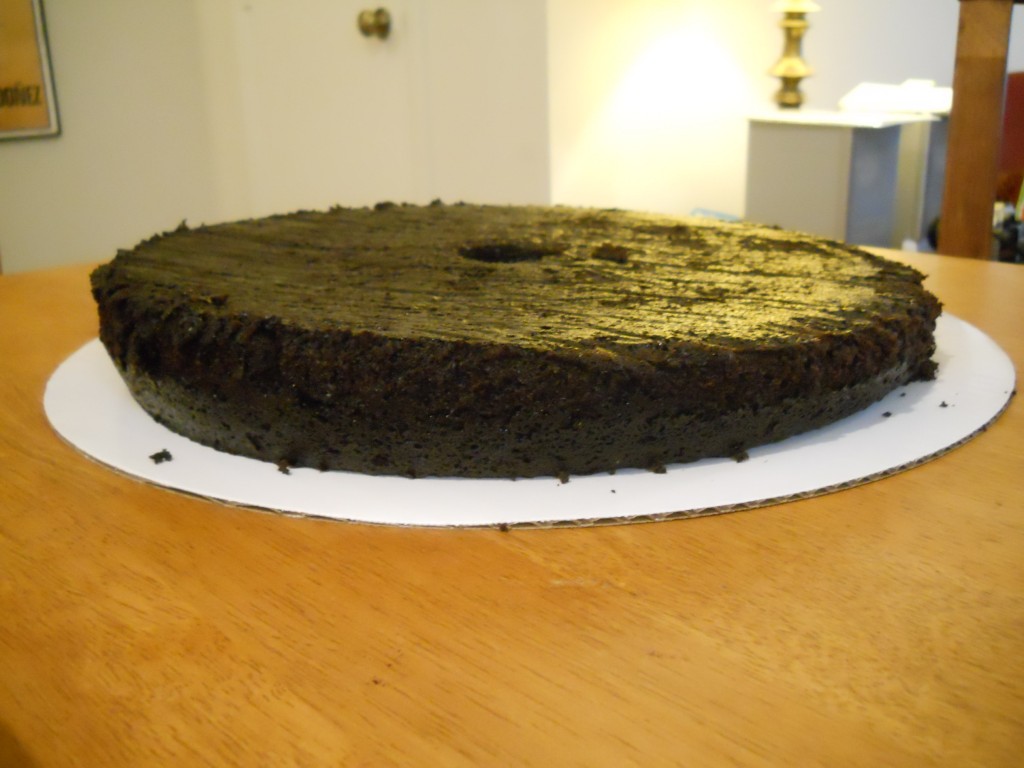
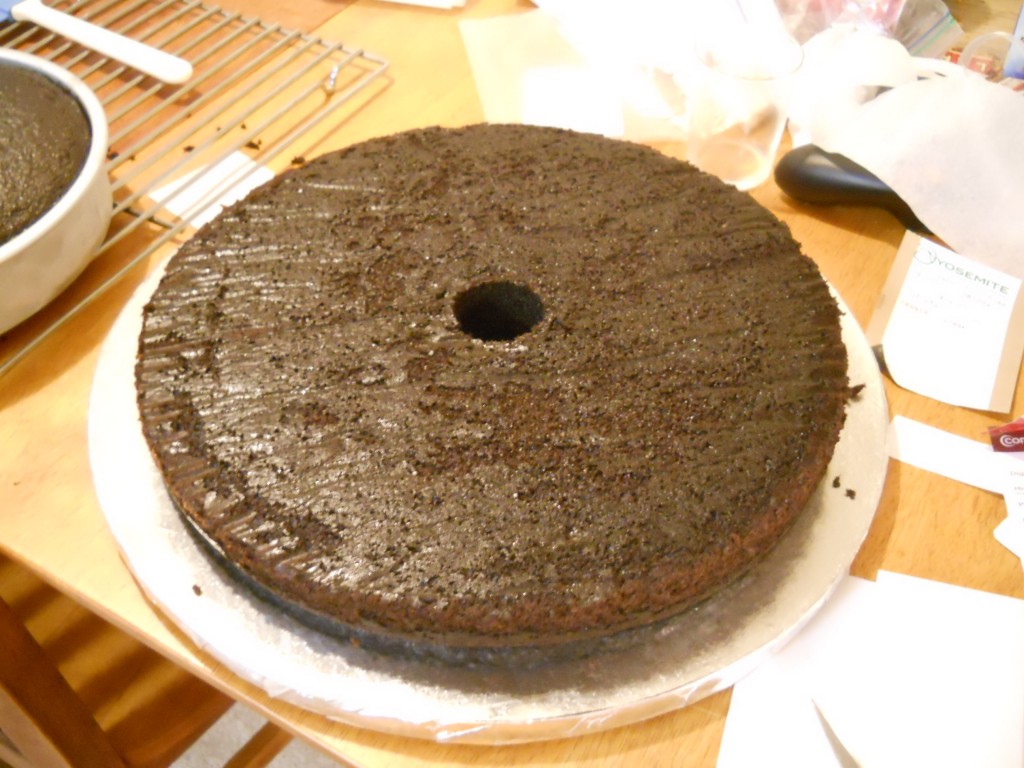
So for the final iteration of the cake I tried this. I flipped the first layer directly onto the cake board like every other time. When the second layer cooled, I sprayed down my cooling rack and flipped the layer onto it. Then I carefully lined up where it would go (I had to make sure the short-side of the bottom layer lined up with the tall-side of the top layer) and slid it gracefully onto the cake.
Beautiful? Hah. Beautiful is an understatement. It was magical, children. And I will tell tales of it for the rest of my life.
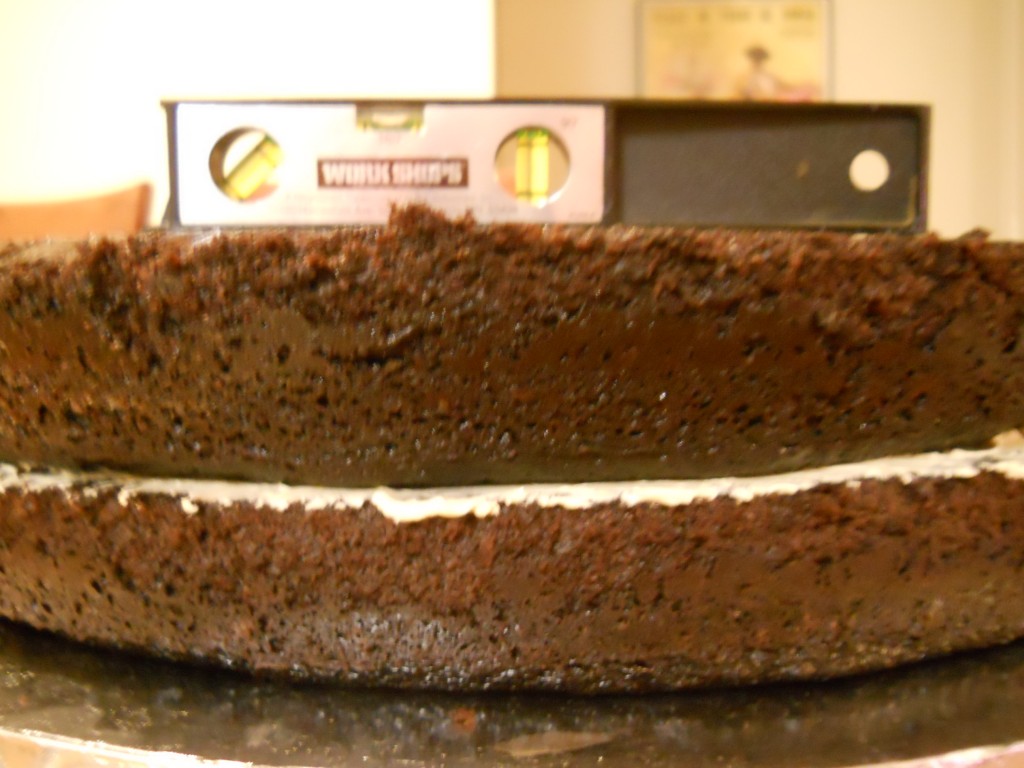
Not only did the 2nd layer stack well, but it also came out perfectly level. As my level demonstrated.
The moral of this story is: if you’re making a cake for an important event – wedding, shower, anniversary, whatever – practice. I had to tinker with this 14″ cake a lot to get my layers stacked without breaking and to bake them without a 30 degree incline. The practice will pay off…and you can always find someone to eat chocolate cake. ^_^
Chocolate Cake Recipe
Measurements adjusted from Sweetapolita recipe.
6×3″ Cake:
- 1/2 + 3/8 c all purpose flour
- 1 cup sugar
- 3/8 cup dark cocoa powder
- 1 tsp baking soda
- 1/2 tsp baking powder
- 1/2 tsp salt
- 1 egg
- 1/2 cup hot water (or coffee)
- 1/2 cup buttermilk
- 1/4 cup canola oil (or vegetable)
- 1/2 tbsp vanilla extract
10×2″ Cake:
- 1 3/4 cup all purpose flour
- 2 cups sugar
- 3/4 cup dark cocoa powder
- 2 tsp baking soda
- 1 tsp baking powder
- 1 tsp salt
- 2 eggs
- 1 cup hot water (or coffee)
- 1 cup buttermilk
- 1/2 cup canola oil (or vegetable)
- 1 tbsp vanilla extract
14×2″ Cake:
- 2 1/2 cup all purpose flour
- 3 cups sugar
- 1 cup dark cocoa powder
- 3 tsp baking soda
- 1 1/2 tsp baking powder
- 1 1/2 tsp salt
- 3 eggs
- 1 1/2 cup hot water (or coffee)
- 1 1/2 cup buttermilk
- 1 1/4 cup canola oil (or vegetable)
- 1 1/2 tbsp vanilla
Instructions:
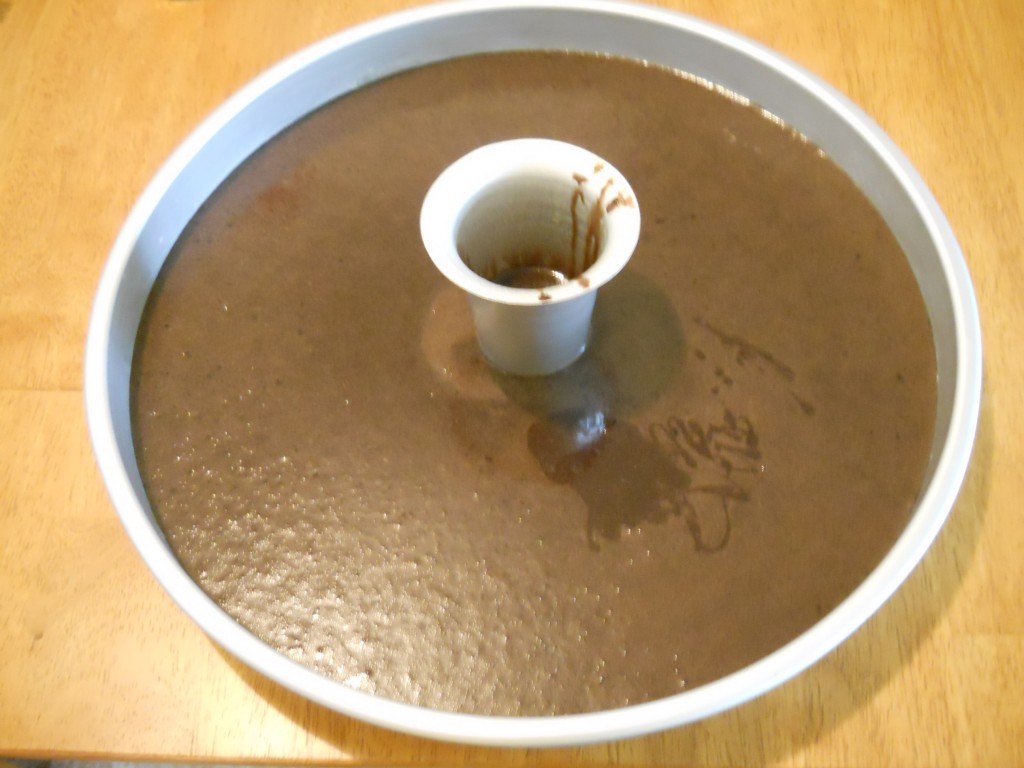
1. Prepare your pan by butter-ing the bottom and sides, lining the bottom with parchment paper, and then butter-ing the parchment paper. I never tried prepping the pan another way, but I can say conclusively that this method worked every time. Just sayin’. If you’re making a 14″ cake, make sure you grease the baking core (I just used PAM – it worked fine).
2. Mix/sift together all the dry ingredients into a large bowl.
3. Add all remaining ingredients and mix thoroughly for ~2 minutes on medium speed. Take your time in this step, especially if making the 14″ cake – make sure you stop mixing occasionally and scrape the bottom of the bowl with a rubber spatula to get all the ingredients mixed evenly.
4. 6×3″ cake: bake at 350F for 40 minutes. Rotate halfway through.
10×2″ cake: bake at 350F for 40-50 minutes. Rotate halfway through.
14×2″ cake: Put a few spoonfuls of batter into your core and place it in the center of the pan. Bake at 325F for 50-60 minutes. Rotate halfway through.
5. Cool in the pan until it’s cool enough to touch, then turn out onto a cooling rack or your plate/cake board. If you’ve baked a 14″ cake don’t forget to knock the cake out of the core and plug it back into the center of the cake. ^_^
Mary Gezo
Formerly of both n00bcakes and !Blog, the two magically become one on Spatialdrift; expect some lazy baking and serious nerditude. Also, I love semicolons.
Yes, no one can resist a chocolate cake! You did a wonderful correction on your layers and this post does have a lot of great tips. Thanks for sharing.
Normal-sized-man-hand-high-five! That cake looks super moist and chocolaty. Glad all the practice paid off! From what I’ve made, I think coffee usually just adds a deepness to chocolate desserts that don’t have coffee or mocha in the title. Annnd omg, there is a level on your cake. XD
@Tina – Thanks! It was a lot of work, but it *completely* paid of. Definitely try that chocolate cake recipe…it is awesome. 🙂
@Jessica – I really think I need to go back and bake this again with coffee, because I’m sure you’re right; it probably just enhances the flavor. And omg…I was so psyched and surprised by the level-ness of the stacked cakes, a level to prove how well it turned out was 100% necessary. /decisive nod
I love Sweetapolita’s cakes. She is some sort of crazy amazing virtuoso cake maker extraordinaire. And her kids always look so damn clean and beautiful! Is she real? I think they may all be androids. Or, I guess, just Canadian.
The cake looks great. The level looks carpenter-y. Great job re-jiggering;)
I totally agree…that asparagus cake? RIDICULOUS and awesome. And I think you may have something…perhaps she IS a cyborg. Or Canadian. /stroke chin
ha!! I love the part about raining rainbows around you for flipping the cake out onto you hands. What is it about taking cakes out of pans that inspires such things? I have broken many a cake by being all like “well.. its been 33 seconds so surely this burning hot cake is cool enough for me to flip out of the pan. no time to grab a plate or anything I’ll just plop it on my hand” haha